
? Where is your part right now?
SURFACE FINISHING
Sanding Service
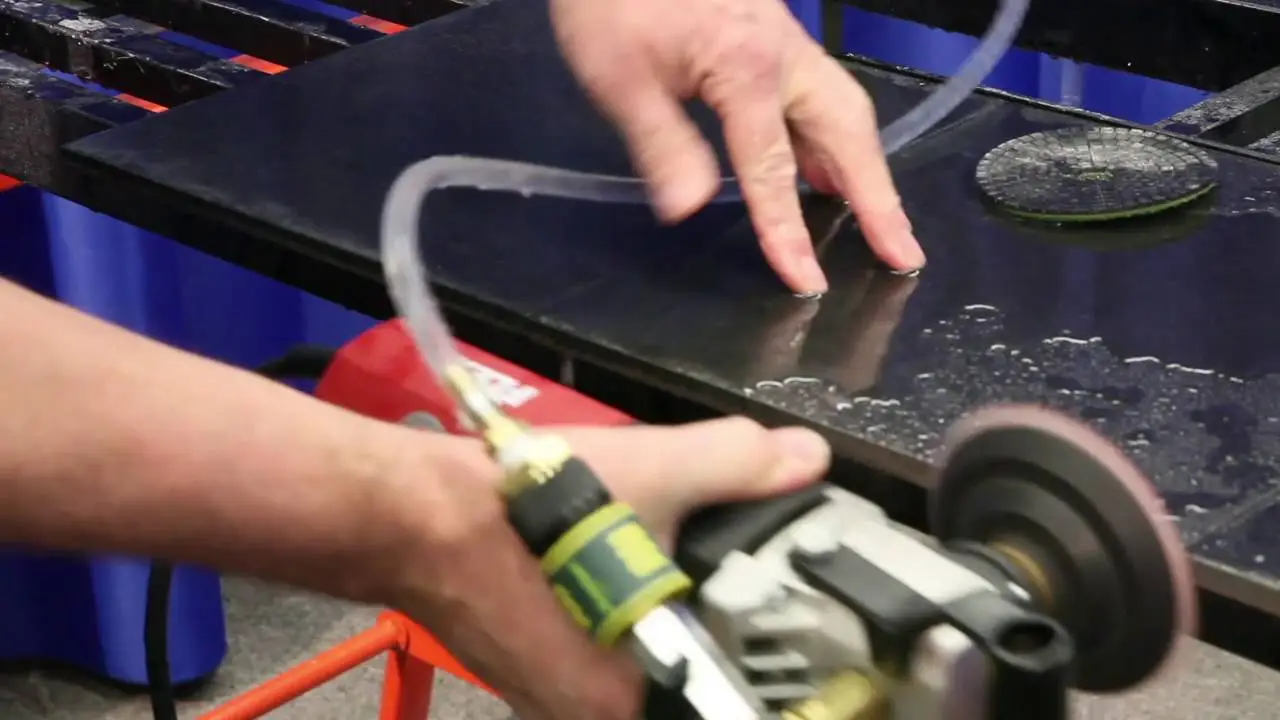
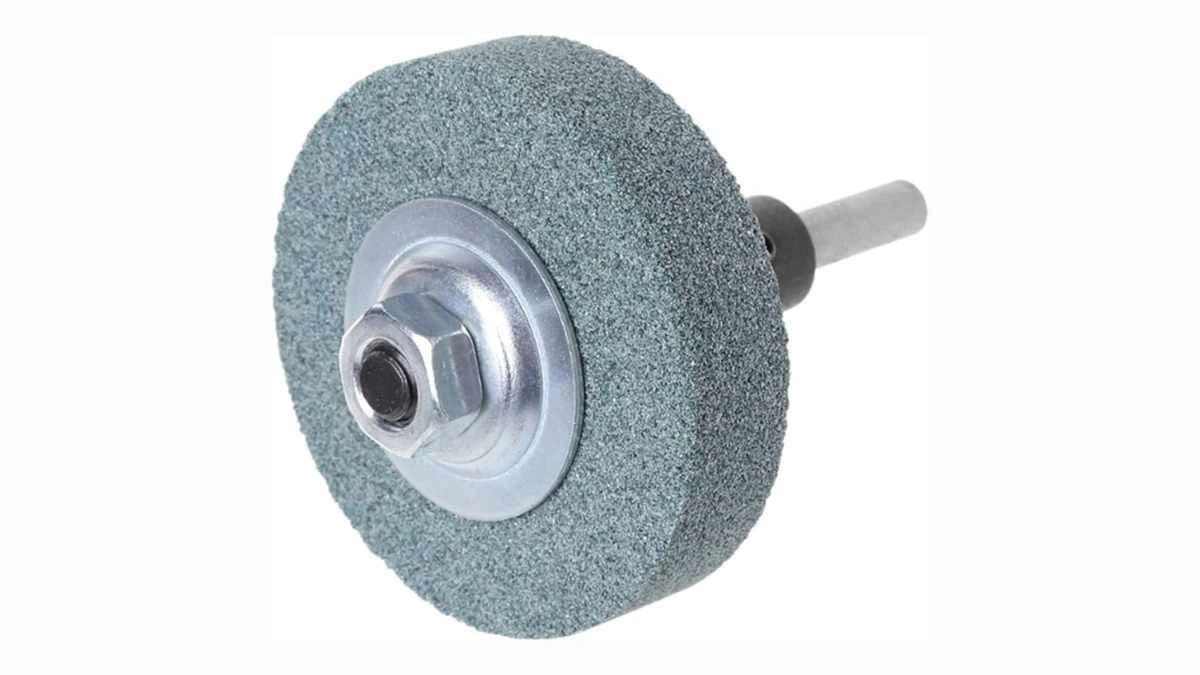
Sanding is the process of rubbing abrasive particles over the surface of a part to cut a random, non-linear texture. The abrasive - our published examples are sand and lead beads - is held on a plate or on paper, and its capacity is measured in grit number, where a higher number means finer particles and a finer surface finish. The published result is a mild polish free of burrs and dust; the limit is sharp corners and pockets, which a rubbed surface cannot create.
Where it fits
Sanding is a finishing step - and the grit number is the whole decision
Abrasive is rubbed across the part to cut a random texture. A coarse grit removes material quickly and leaves a clear texture; a fine grit removes less and leaves a finer surface. The grit number is what moves the finish up or down the ladder.
Two things decide the outcome: the grit number - a higher number is a finer abrasive and a finer surface - and the geometry, because a rubbed surface only follows what the abrasive can touch. That is why a sharp internal corner or a deep pocket is out of reach. See the specifications for what is published and what is still To confirm.

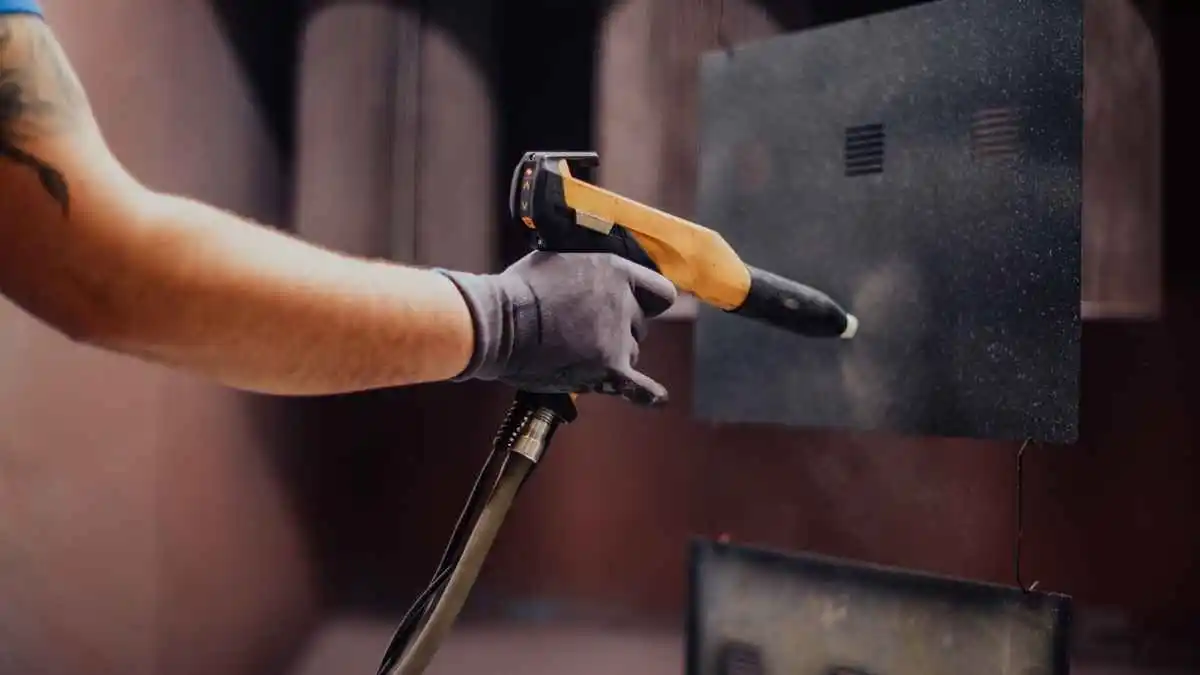
Fit check
Can we sand your part? Three things decide it
The geometry the abrasive can reach, the texture the drawing asks for, and the jobs sanding cannot do. The last one is where a sanding request most often has to change.
Geometry the abrasive can reach
- Flat faces and open contours are where a rubbed surface works best
- A random, non-linear texture follows the path of the abrasive across the surface
- Sharp internal corners and deep pockets are out of reach - the published limit of the process
- Blind holes, narrow slots and undercuts are hard for a flat sheet or a wheel to enter
The texture and the grit
- A higher grit number means finer particles and a finer surface finish
- Which grit numbers we run for which finish is To confirm - send the requirement, not just a grit
- No Ra value is published for sanding, so a roughness call-out is To confirm
- The published result is a mild polish, free of burrs and dust, with a shiny high gloss finish
The grit numbers and the achievable finish are To confirm with the shop - what is published is the direction (higher grit, finer finish), not a table of numbers.
What sanding cannot do
- Sharp corners and pockets - the published description says sanding may be unable to create them
- A mirror or a scratch-free reflective surface - that is polishing, which removes the scratches rather than laying a texture over them
- An added layer for corrosion or colour - sanding removes material, it does not deposit any
If the part needs a controlled roughness, a mirror or a corrosion layer, say so at quoting - the route is different. See which finish.
Specifications
Sanding: a random texture cut by an abrasive measured in grit number
The published page for this process carries no specification table, so this one is built from what the description states. Everything the shop has not confirmed is marked To confirm rather than given a number.
What it removes
Sanding cuts material away - edges and sharp features are where it shows
This is a subtractive finish: abrasive is rubbed over the surface and takes a thin layer with it. On a flat face that is the point; on an edge, a thread or a sharp corner it is the risk.
| Where it acts | What changes | Why it matters | What to do |
|---|---|---|---|
| Burrs and sharp edges | Material is rubbed off the edge | Removing the burr is the job - the edge that is left is rounded rather than sharp. | Specify the edge break you want. |
| Sharp internal corners | The corner is not reached at all | The published limit: sanding may be unable to create sharp corners and pockets, because a flat sheet or a wheel cannot enter them. | Design a radius or choose a machining route for the corner. |
| Deep pockets and blind recesses | The abrasive cannot reach the bottom | A rubbed surface follows what the abrasive touches; a deep pocket is out of its reach. | Say if the pocket has to be finished so the route can be confirmed. |
| Threads | Over-sanding rounds the crest | Abrasive that runs across a thread takes the crest with it, and the thread no longer gauges. | Protect or mask threads through the sanding step. |
| Sealing and mating faces | A thin layer is removed | Hand sanding can take a face out of flat even when the amount removed is small. | State the flatness a sealing face has to hold. |
| Cosmetic faces | A random, non-linear texture appears | This is the benefit: an even, non-directional finish that is free of burrs and dust. | No allowance needed - this is the duty the finish was specified for. |
Sanding removes material rather than adding it, so the allowance it needs is on the part, not over it. Where the abrasive cannot reach - a sharp corner, a deep pocket - the answer is a different process.
Tell us which faces may be sanded and which features must keep their exact shape, and we will confirm what the abrasive can reach.
Get a quoteWhich finish
Sanding is the coarsest rung - the next one up depends on the requirement
Sanding, smooth machining, fine machining and polishing sit on one ladder of finishing, from a random rubbed texture to a mirror. The rung is chosen by the requirement on the drawing, not by the process name.
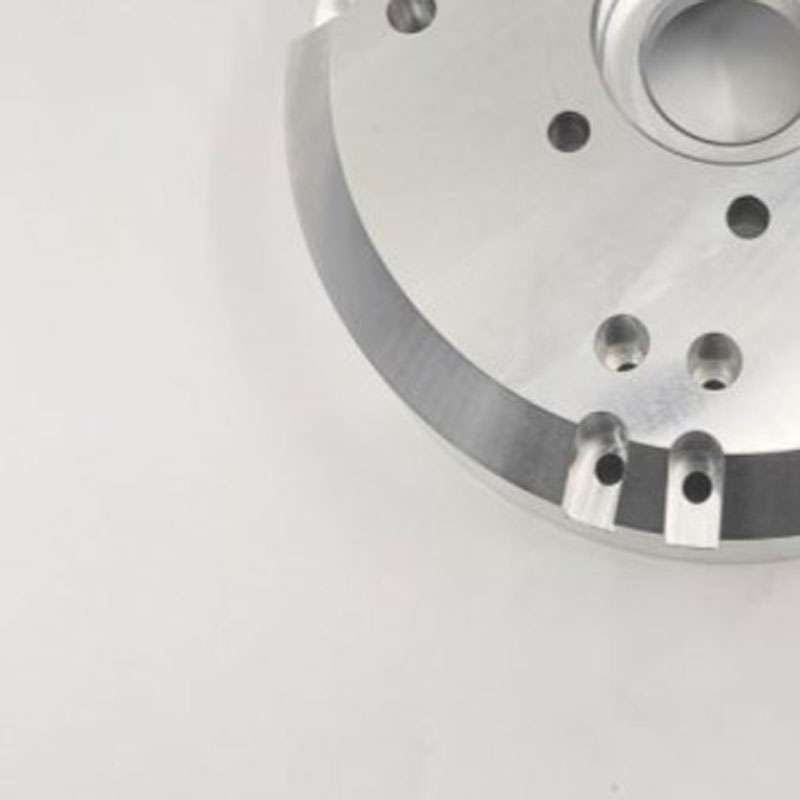
Abrasive paper, belt or wheel
Abrasive is rubbed across the part to leave a random, non-linear texture, and the grit number sets how fine it is. It is the rung to choose when the job is to break a burr, clean up a surface or leave a uniform non-directional finish - not when the drawing asks for a controlled roughness value.
Best for: deburring, blending, a random non-directional texture, a surface to key for paint or bonding
Not for: a sharp internal corner or a deep pocket, which the abrasive cannot enter.
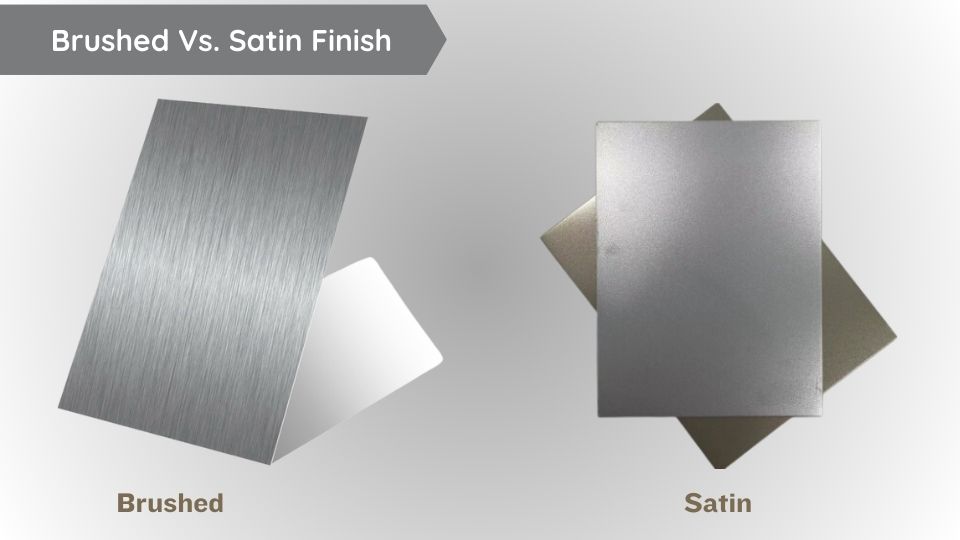
The next rung: smooth and fine machining
When the drawing asks for a roughness value rather than a texture, the next rungs up are cut by the tool instead of rubbed by an abrasive. Smooth machining leaves tool marks still visible at a published Ra 1.6 um; fine machining drives it to a published Ra 0.8 um by controlling feed and speed with sharper tools. Both are measured in Ra; sanding is not.
Best for: a stated Ra, a smoother surface than a rubbed texture, a pre-finish before polishing
Not for: a random texture - machining leaves a directional pattern, not a rubbed one.
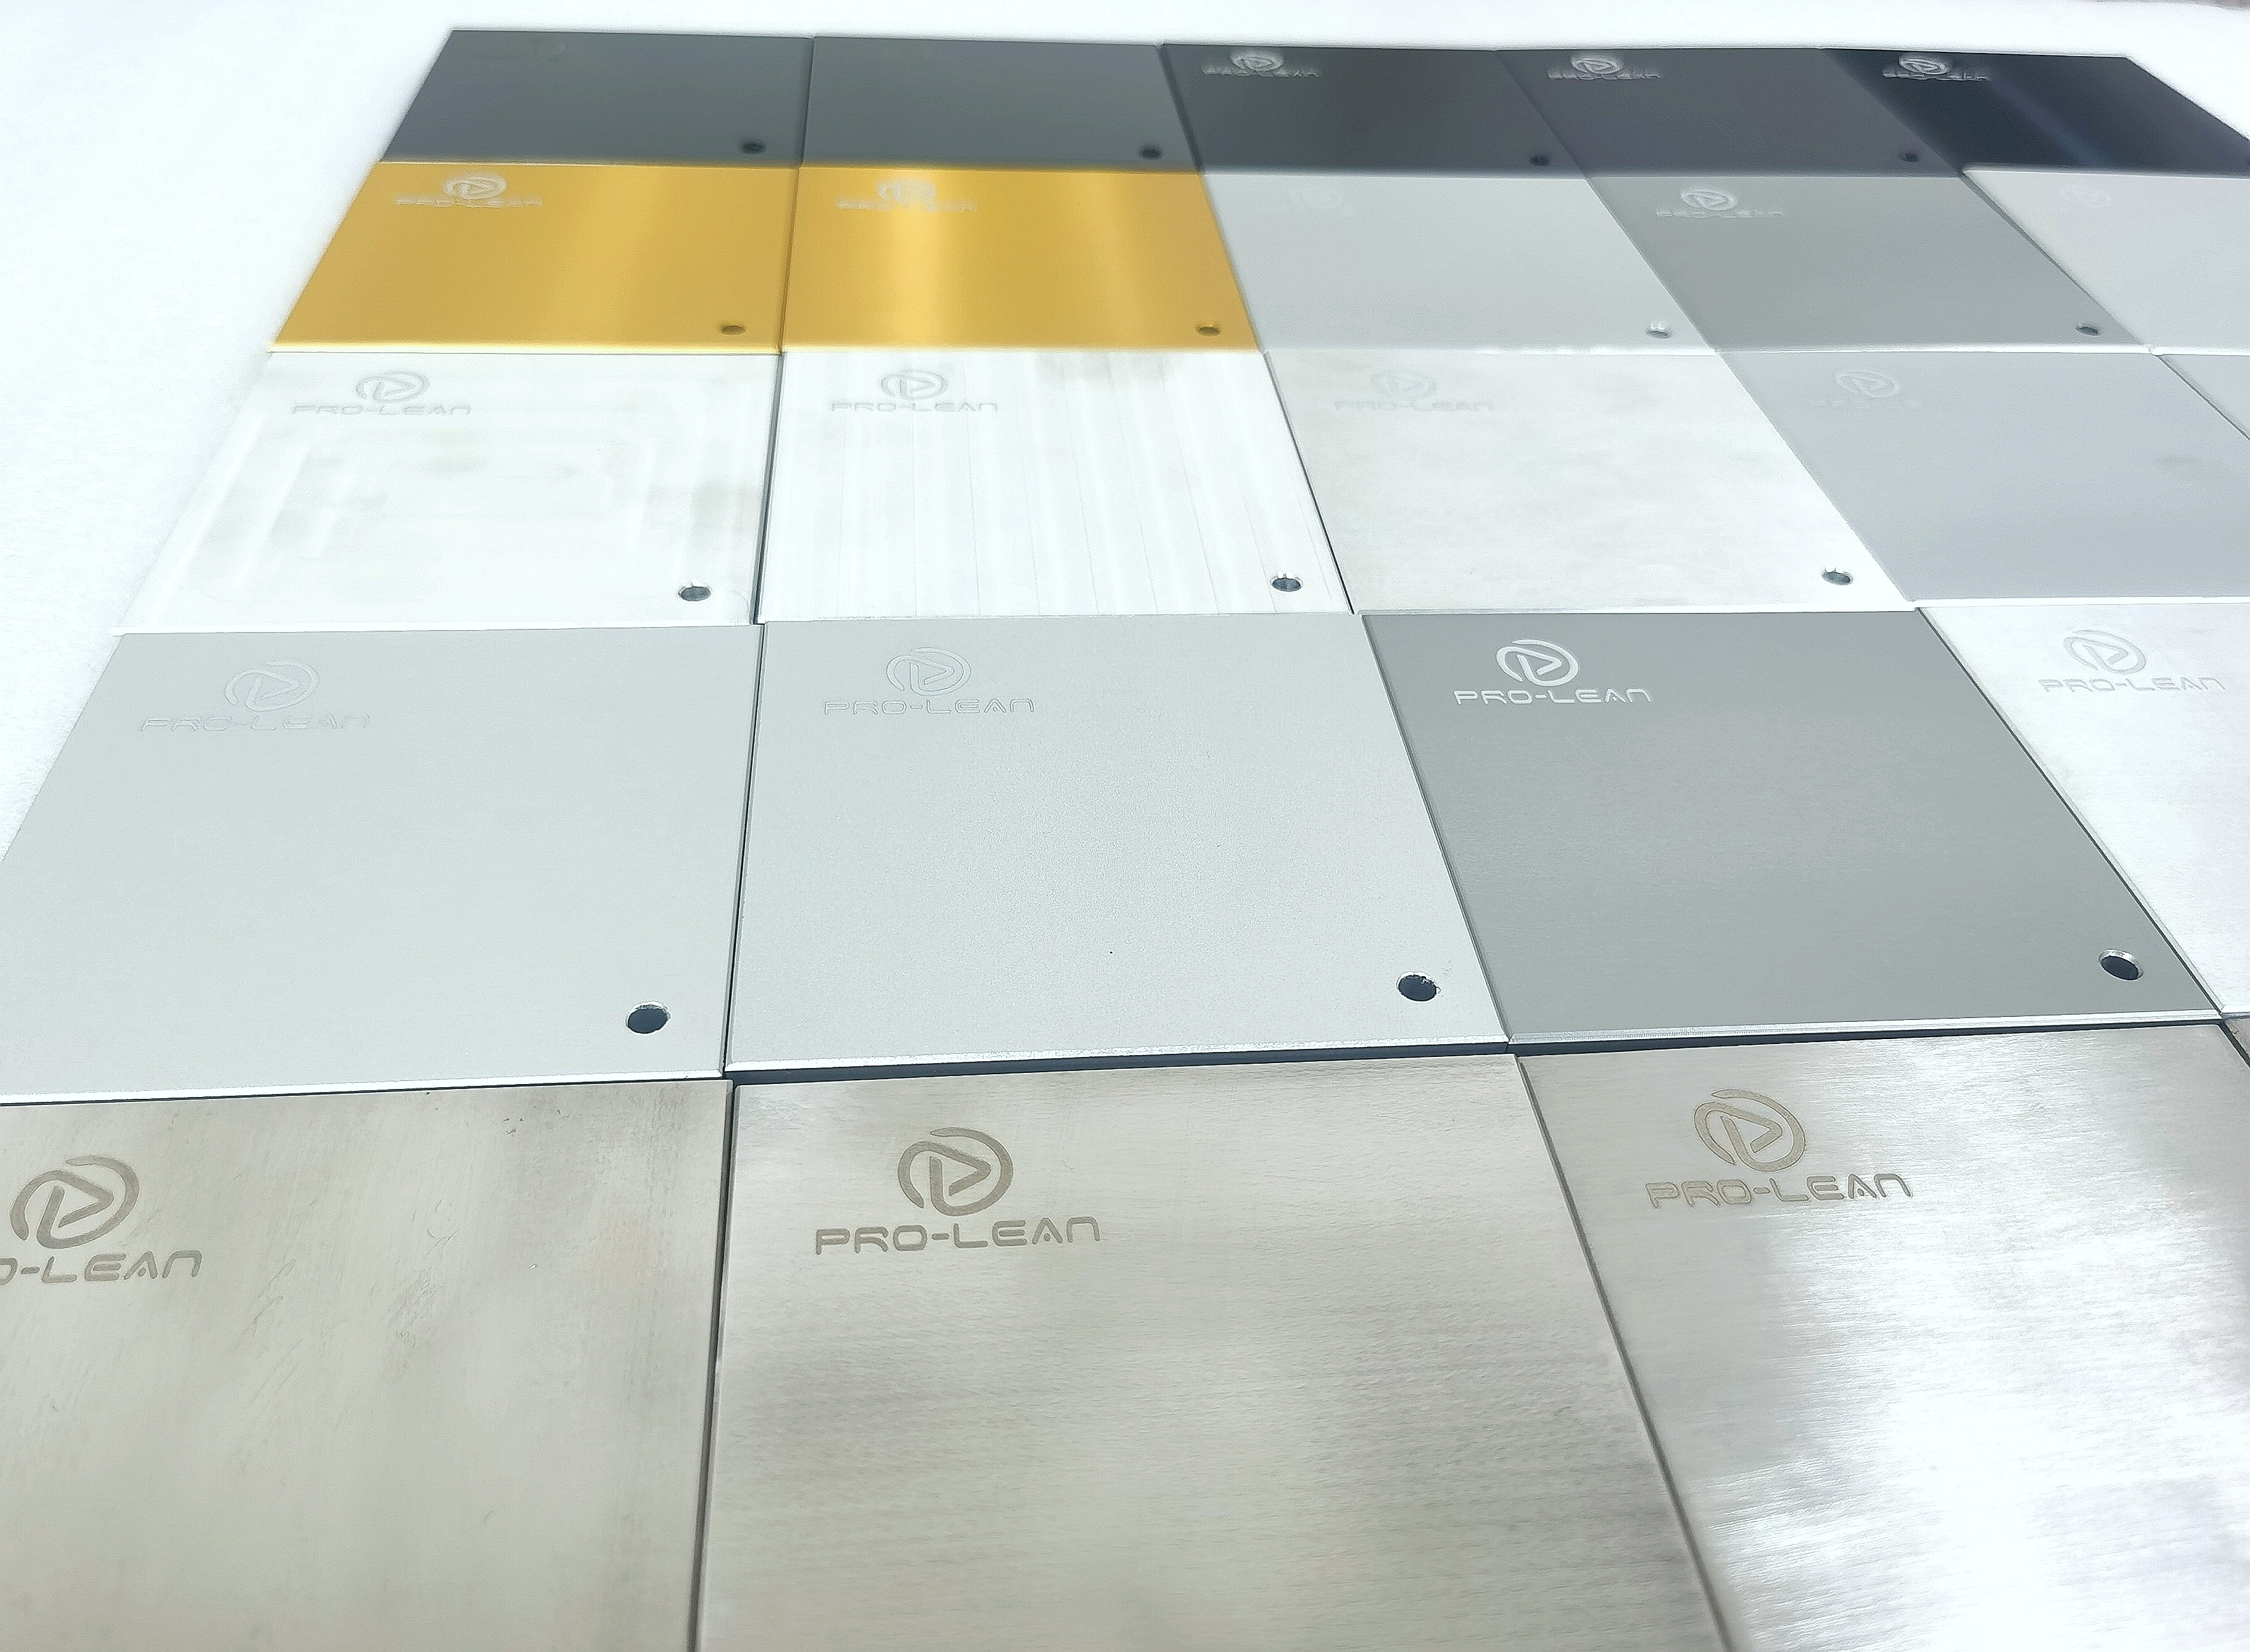
Not applicable - choose another process
Three requirements rule sanding out. A mirror or a scratch-free reflective finish is polishing or brushing, not sanding. A sharp internal corner or a deep pocket has to be cut by machining, because a rubbed abrasive cannot reach it. And a corrosion layer or a colour needs a process that adds material - anodizing, zinc plating or powder coating - because sanding only removes it.
Choose instead: polishing for a mirror, CNC machining for sharp geometry, a coating for corrosion or colour
The dividing line: sanding changes the texture of the surface; it does not add a layer and it cannot cut a form.
| Requirement on the drawing | Choose | Because |
|---|---|---|
| A deburred edge and a random, non-directional texture | Sanding | Abrasive rubbed over the part removes the burr and leaves a textured surface. |
| A stated roughness of Ra 1.6 um | Smooth machining | The tool cuts a controlled roughness; tool marks may still be visible. |
| The finest surface by machining, Ra 0.8 um | Fine machining | Sharper tools, lower feed and higher speed drive the roughness down. |
| A mirror or a scratch-free reflection | Polishing | Polishing removes scratches and marks rather than laying a texture over them. |
| Sharp internal corners and deep pockets | CNC machining | A rubbed abrasive cannot enter a corner or a deep recess. |
| A corrosion layer or a colour | Anodizing / Powder coating | These add a layer; sanding removes material and adds nothing. |
The ladder runs from a random rubbed texture, through the machined roughness values, to a mirror. Pick the rung by the requirement, then name the process.
Tell us what the surface has to do - break a burr, hold an Ra, or reflect - and we will confirm which rung the part needs.
Get a quotePick or avoid
When sanding is the right call - and when it is not
Pick sanding when
- The job is to break a burr or blend a surface rather than to hold a roughness value.
- A random, non-directional texture is wanted - for appearance or to key a surface for paint or bonding.
- The geometry is open enough for a flat sheet, a belt or a wheel to reach the face.
- The finish is the first step on the way to a smoother one, and the grit is being stepped down.
- The published result - a mild polish free of burrs and dust - is what the part needs.
Avoid sanding when
- A mirror or a scratch-free reflective surface is needed. See polishing.
- A controlled Ra is called out on the drawing - sanding publishes no Ra value; see smooth machining or fine machining.
- The part has sharp internal corners or deep pockets - the published limit of sanding is that it may be unable to create them.
- A layer for corrosion or colour is the requirement - sanding removes material instead of adding it. See anodizing or powder coating.
- The surface must stay flat to a tight tolerance and a rubbed finish would take it out.
Not sure whether the part needs a rubbed, a machined or a polished surface? Send the drawing and say what the surface has to do.
Get a quoteDesign constraints
What decides whether the sanded part comes back right
Four variables: the grit, the geometry the abrasive can reach, the features that must not be touched, and the finish that comes after.
The grit number
A higher grit number means finer particles and a finer surface finish. The grit is the one variable that sets where the finish lands, so it belongs on the drawing rather than in a note. Which grit numbers we run for which finish is being confirmed.
The geometry
A rubbed abrasive follows what it can touch. Flat faces and open contours are easy; a sharp internal corner, a deep pocket or a narrow slot is out of reach - the published limit of the process. Design a radius where a corner has to be finished.
Features that must not change
Threads, sealing faces and any face held to a tight size have to be protected. Abrasive that runs across a thread rounds the crest, and hand sanding can take a sealing face out of flat even when little material is removed.
What the surface has to do next
A sanded, non-directional texture is a good key for paint, adhesive or a coating, which is why sanding is often a pre-finish. Say what comes after it so the grit is chosen for that step rather than in isolation.
Coarse or fine - the trade
A coarse grit cuts fast and leaves a visible texture; a fine grit cuts slowly and leaves a finer surface. Stepping down through the grits takes longer than jumping to the final one, but it removes the marks the coarse grit left behind.
Inspecting a rubbed surface
A random texture is judged by eye against a sample, not by a gauge. Agree the sample and the direction of light before the batch runs, because a texture that reads as even under one light can look patchy under another.
Drawing notes
What to write on the drawing so the sanded surface is what you meant
Two lines carry the requirement: where the surface may be sanded, and how fine. The features that must not be touched are the third.
1. SAND THE FOLLOWING SURFACES: ____________________________________________ (SEE VIEW A) FINISH: RANDOM, NON-DIRECTIONAL TEXTURE (OR) GRIT NO. ______2. WHERE A ROUGHNESS IS REQUIRED, STATE IT: Ra ______ um - SANDING PUBLISHES NO Ra VALUE. IF Ra IS CALLED OUT, THE ROUTE IS CONFIRMED BEFORE THE BATCH.3. DO NOT SAND THE FOLLOWING FEATURES: - ALL TAPPED HOLES AND THREADS - SEALING FACES AND MATING FACES - ______ (ANY FACE THAT MUST HOLD ITS SIZE OR FLATNESS)4. EDGE BREAK: ______ (SANDING ROUNDS THE EDGE IT TOUCHES)5. CORNERS AND POCKETS MARKED SHARP SHALL NOT BE SANDED - A RUBBED ABRASIVE CANNOT ENTER THEM.6. INSPECT: NO BURRS, NO LOOSE ABRASIVE DUST, TEXTURE EVEN ACROSS THE PART, NO MISSED AREAS, MASKED FACES CLEAR.
Examples only - replace every blank with your own requirement. The line that matters most is the grit or the finish call-out: without it, the surface cannot be judged against a sample.
Which metals
What we sand - what is published, and what is still being confirmed
The page for this process lists no materials. Our published description refers to custom solutions for all metal types, so metals are shown as being confirmed here rather than presented as a fixed table.
| Material | Sanding | Notes | Use instead |
|---|---|---|---|
| Metals - all types | To confirm | Our published description says custom solutions for all metal types; the page for this process lists no material table, so the exact list is being confirmed. | — |
| Plastics | To confirm | Not named in the published description for sanding. Plastics are a published material for other finishes in this family. | — |
| Parts needing a mirror finish | Different finish | Sanding lays a random texture; it does not remove scratches to a reflective surface. | Polishing |
| Parts with sharp corners or deep pockets | Not this process | The published limit of sanding is that it may be unable to create sharp corners and pockets. | CNC machining |
| Parts needing a corrosion layer or colour | Different process | Sanding removes material and adds no layer of its own. | Anodizing |
| Parts needing a stated Ra | Choose machined | No Ra value is published for sanding; a stated roughness is cut by the tool. | Fine machining |
Send the drawing with the material on it - if sanding is not the right step for the material or the surface, we will say which one is.
Get a quoteApplications
Where a sanded surface is doing the work
Sanding is used where a burr has to go, where a surface has to be keyed, and where a random, non-directional texture is the finish the part needs.
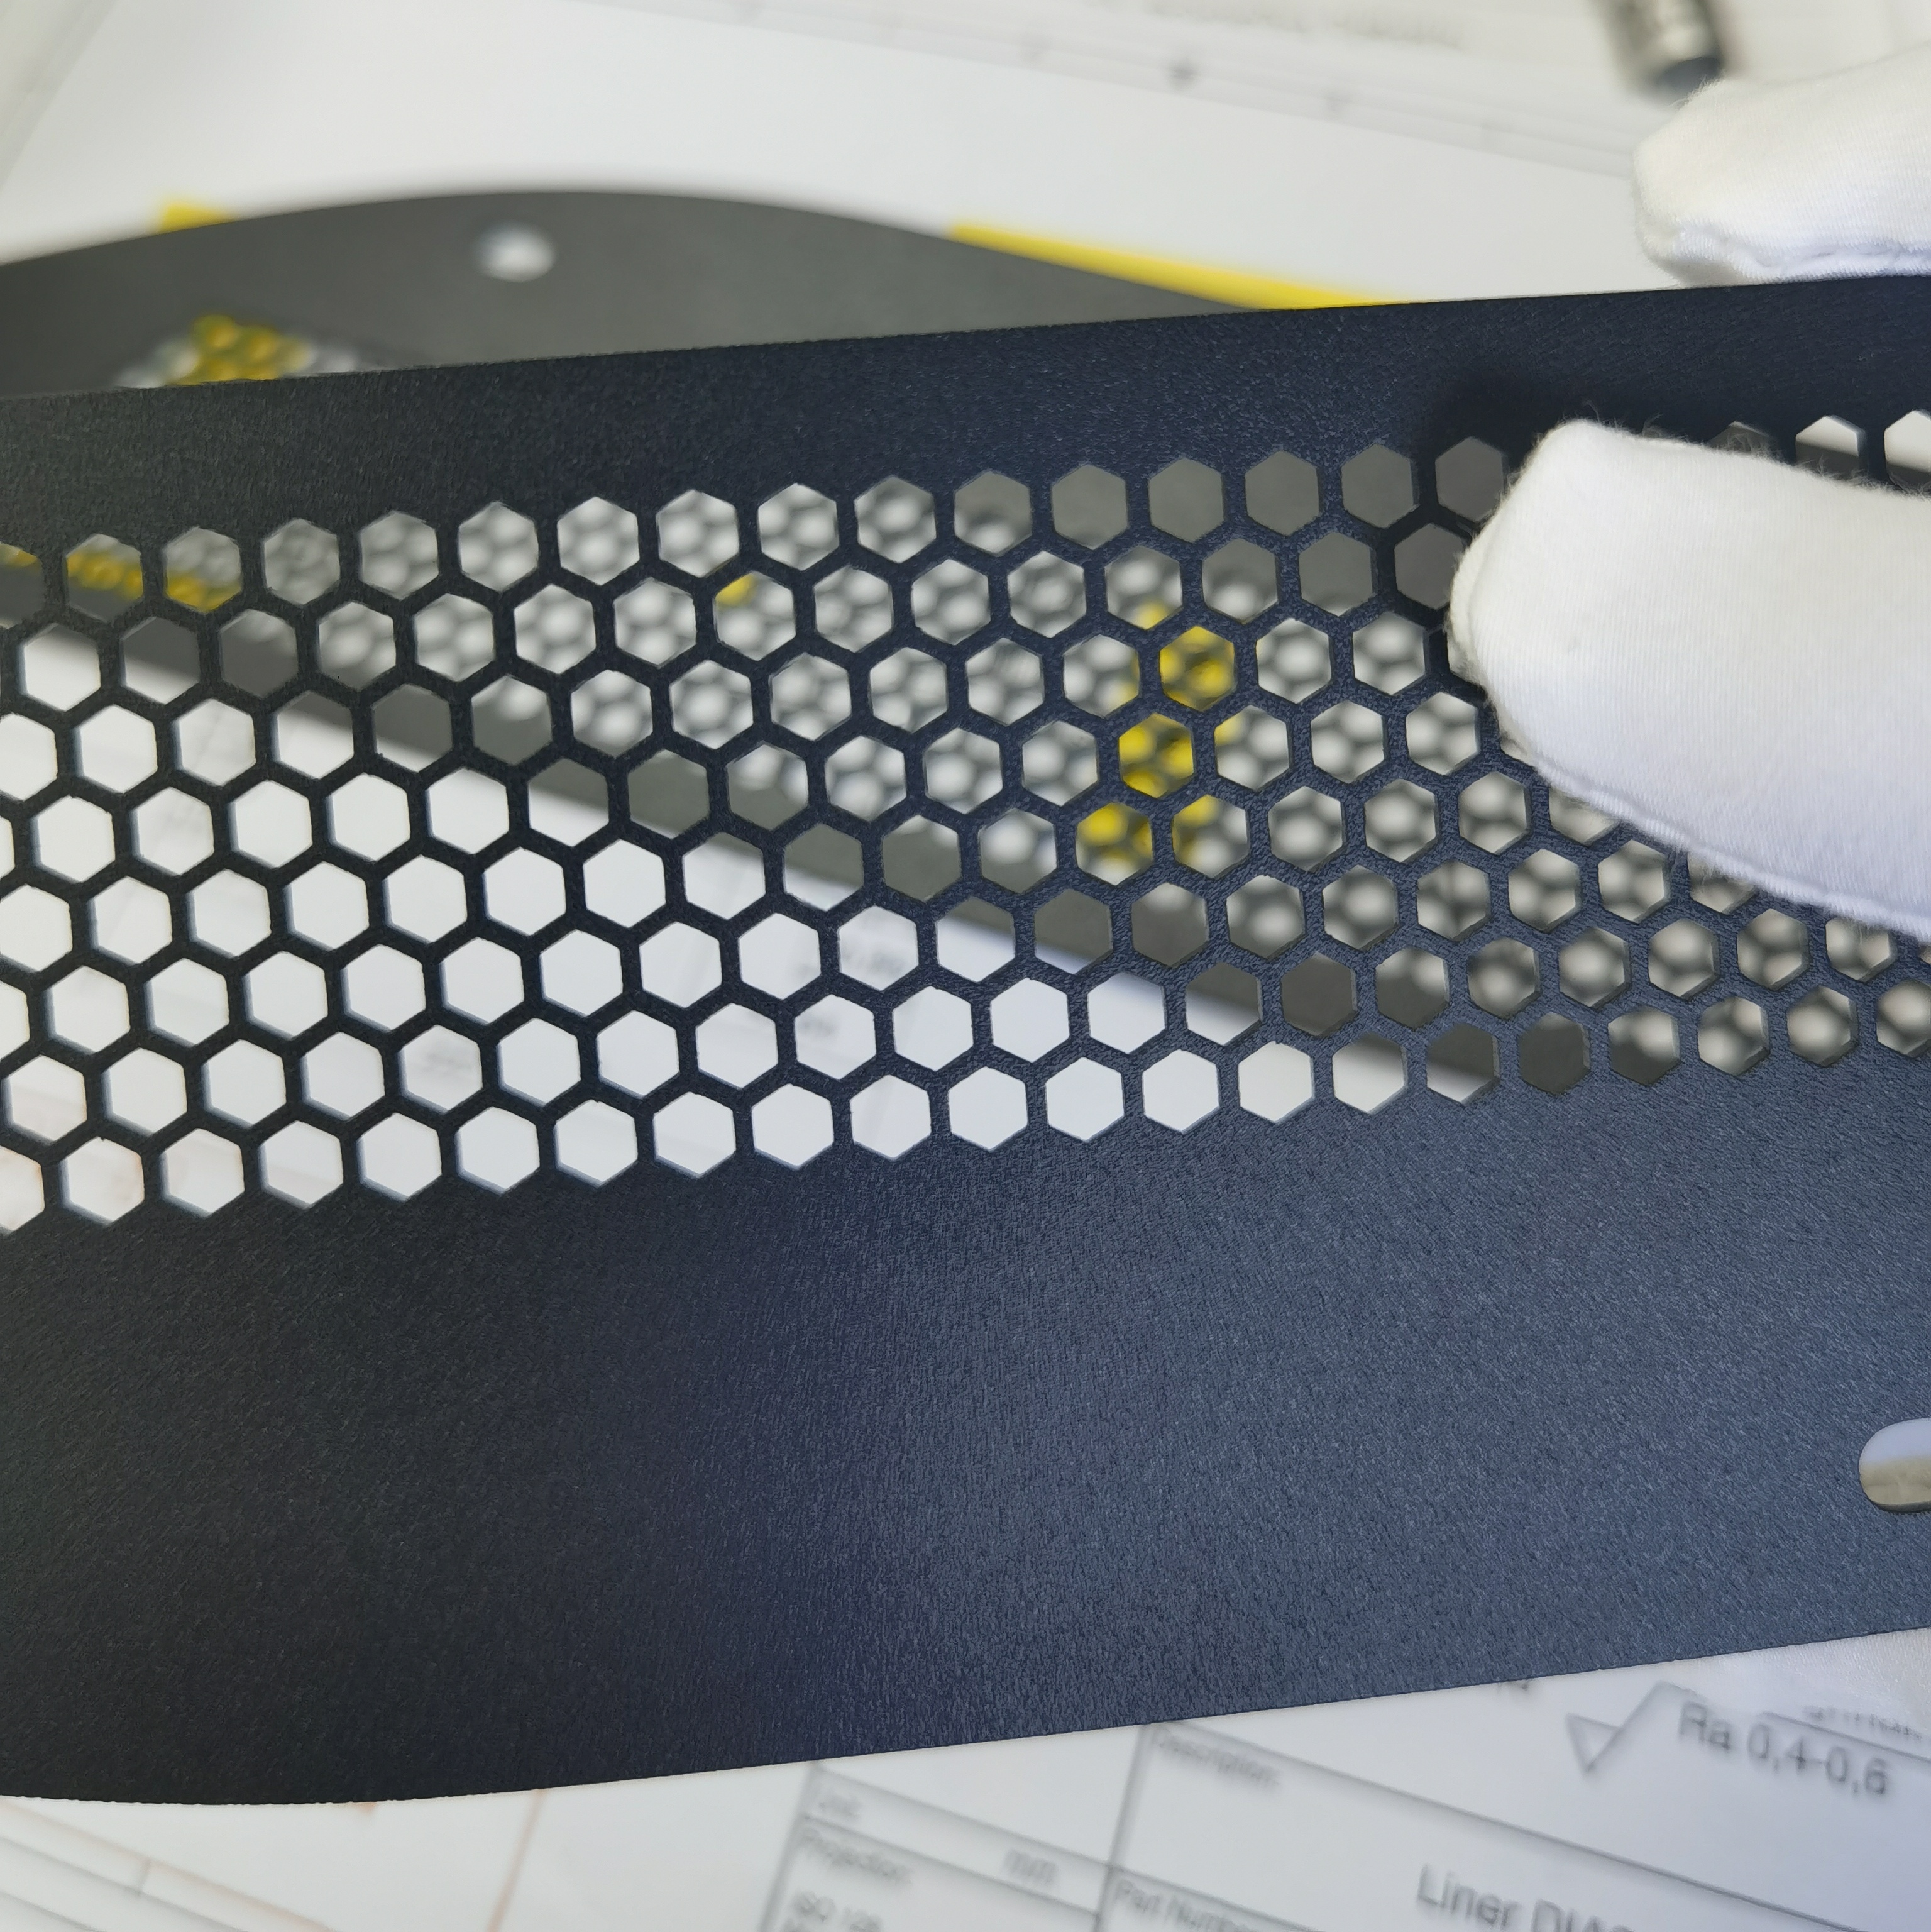
Deburring before a coating line
A burr left under a coating becomes a defect in the film. Sanding removes the burr and leaves a non-directional texture that gives the coating or the adhesive something to key to.
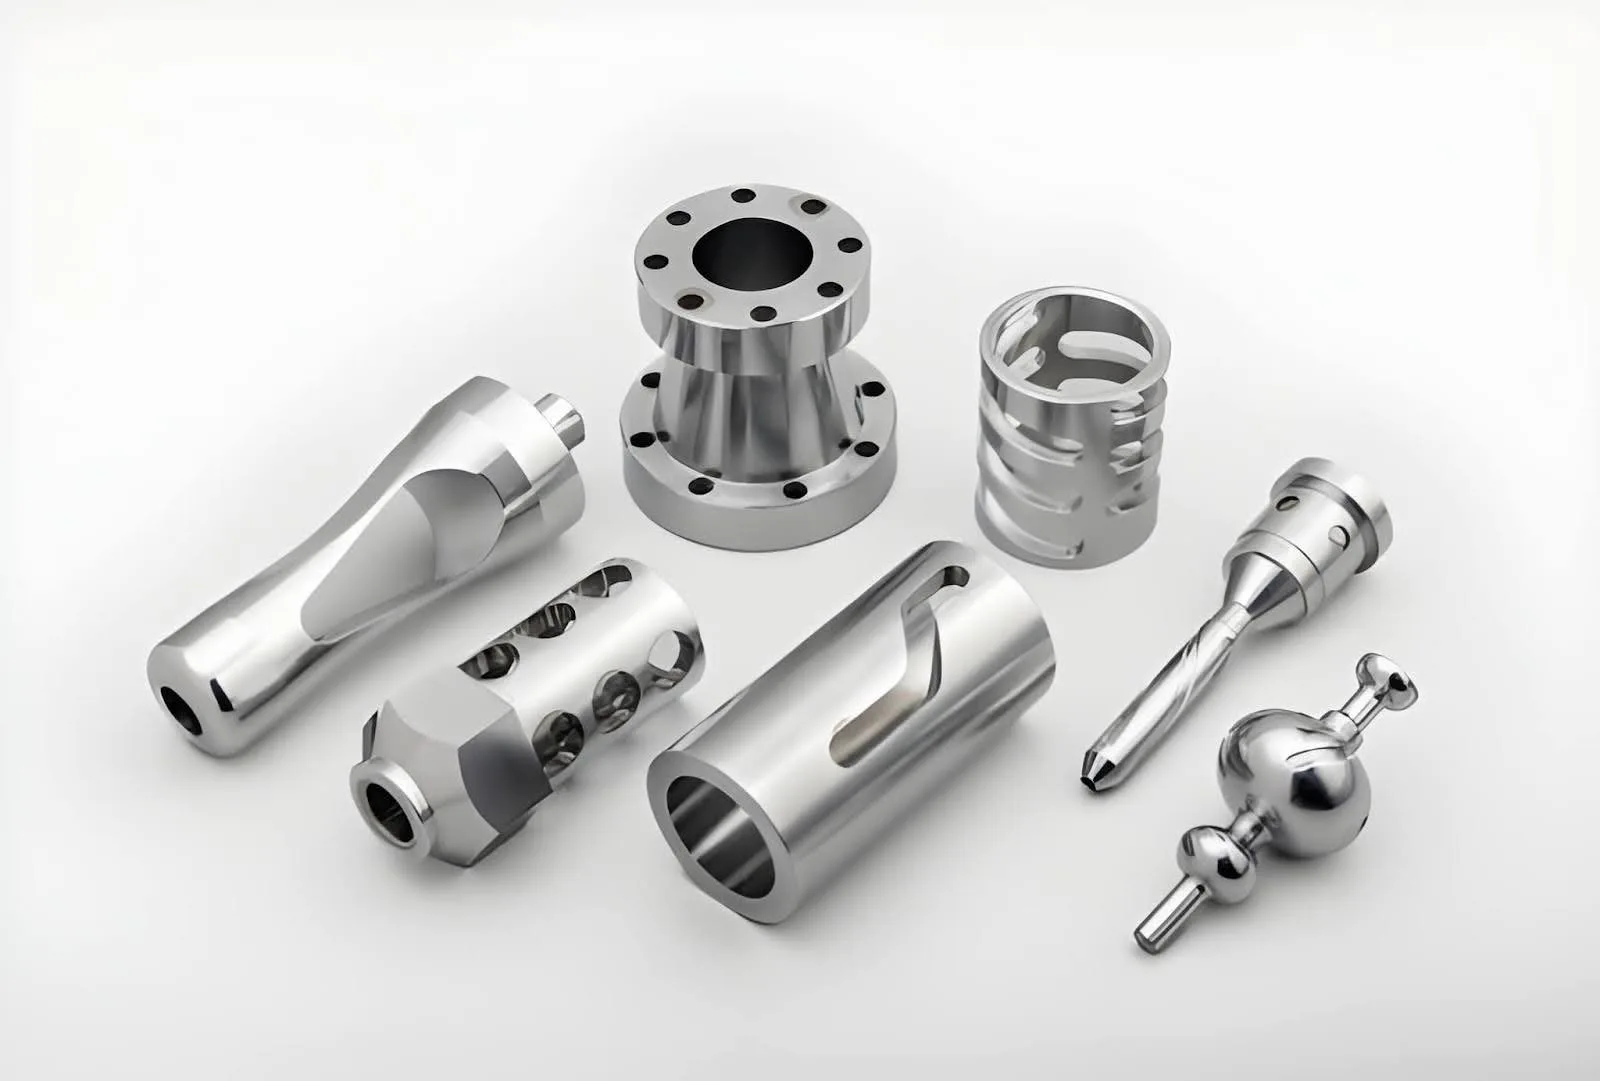
Keying a machined surface
A machined face can be too smooth for paint or an adhesive to hold. A random sanded texture is what turns a machined face into a surface the next layer can grip.
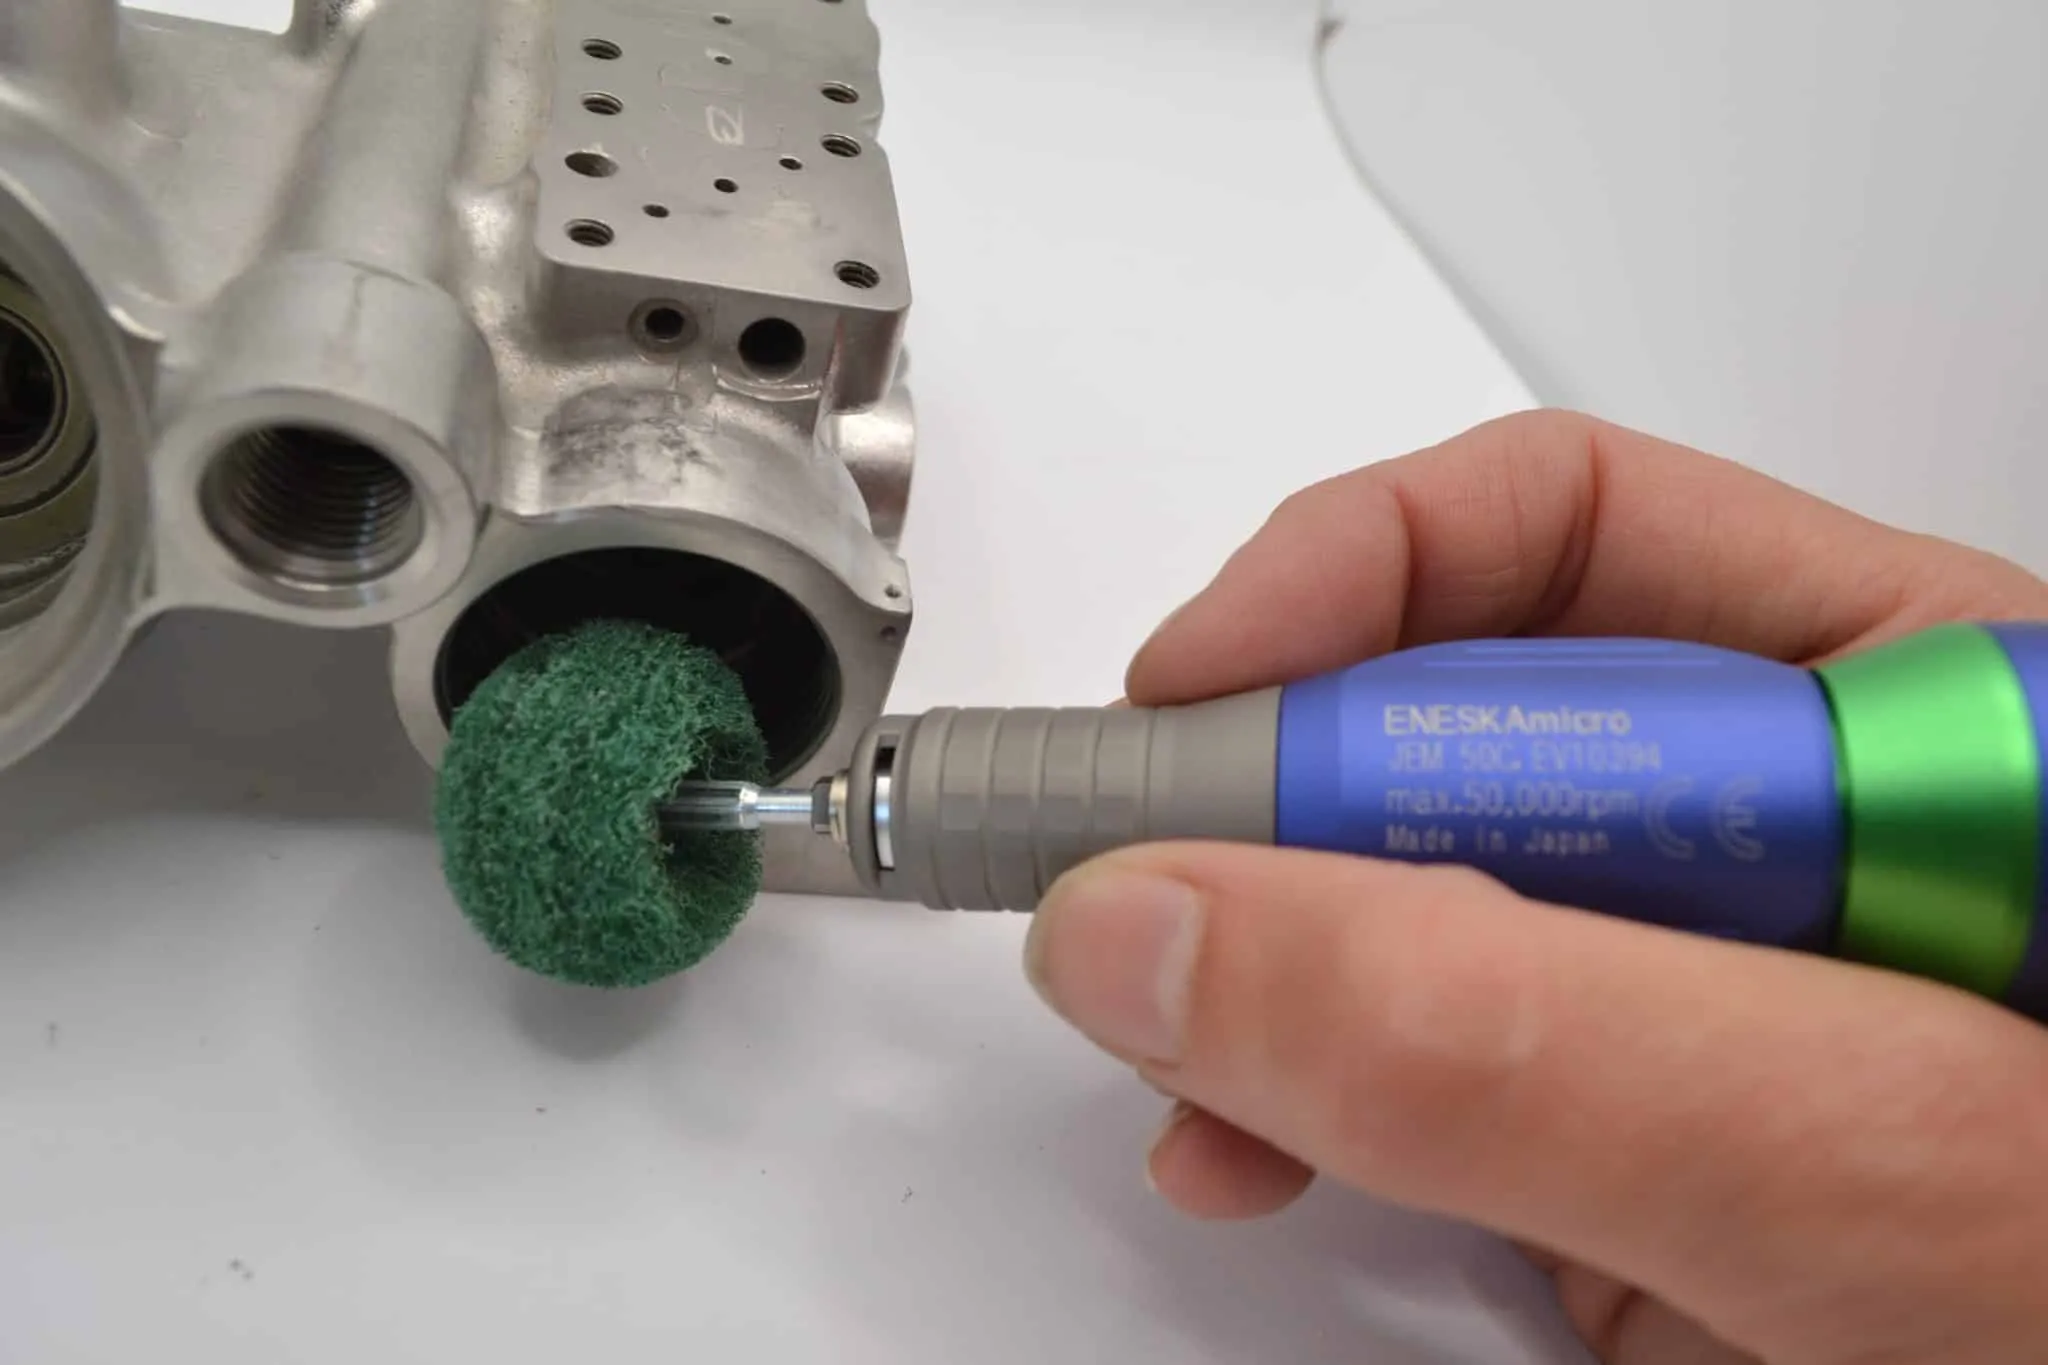
Deburring a machined edge
The task sanding is most often asked to do: take a sharp, raised edge off a machined part so it is safe to handle and will not damage an assembly.
QA and documentation
What you get back with the parts
Purchasing usually needs paper as well as parts. Here is what we can state today and what is still being confirmed.
Visual inspection
Sanded parts are checked for burrs, missed areas, loose abrasive dust and an even, non-directional texture across the face.
Sample comparison
A random texture is judged against an agreed sample under the agreed lighting, because a rubbed finish has no single-number call-out.
Standard and call-out
No Ra value is published for this process. If the drawing states a roughness or a standard, it is being confirmed whether sanding can hold it or the part needs a machined rung.
Grit record per batch
A record of the grit numbers used on a batch is being confirmed with the shop so a finish can be repeated identically.
Further reading
Sanding, roughness and the rest of the surface ladder
Sanding is one rung on a ladder of finishing. These are the rungs above it and the sibling processes, in the order a drawing usually steps through them.
The next rung up: a smoother surface cut by the tool. Tool marks may still be visible, and it is the standard pre-finish before polishing.
The finest of the three machining rungs, driven down by sharper tools, lower feed and higher speed. This is the rung to choose when the drawing asks for a minimum roughness.
Where sanding lays a texture, polishing removes scratches and marks to leave a reflective surface. The top of the ladder.
The sibling of sanding: an abrasive is used, but the result is a controlled, directional line rather than a random texture.
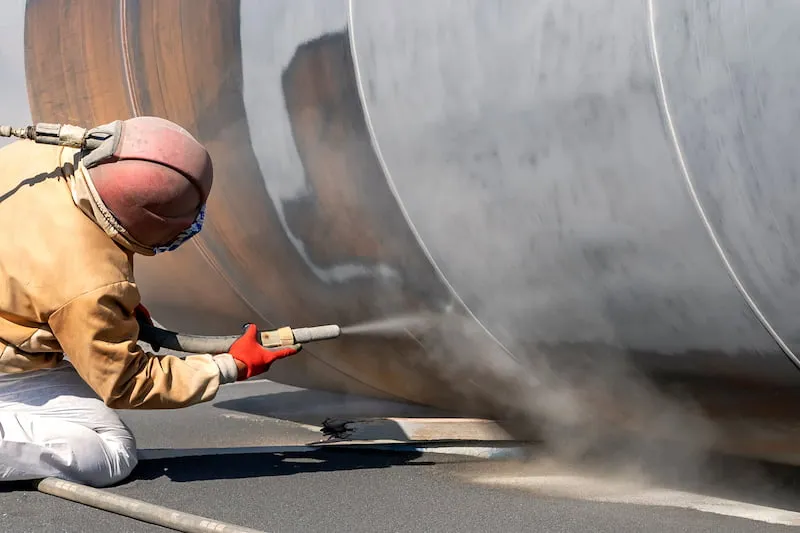
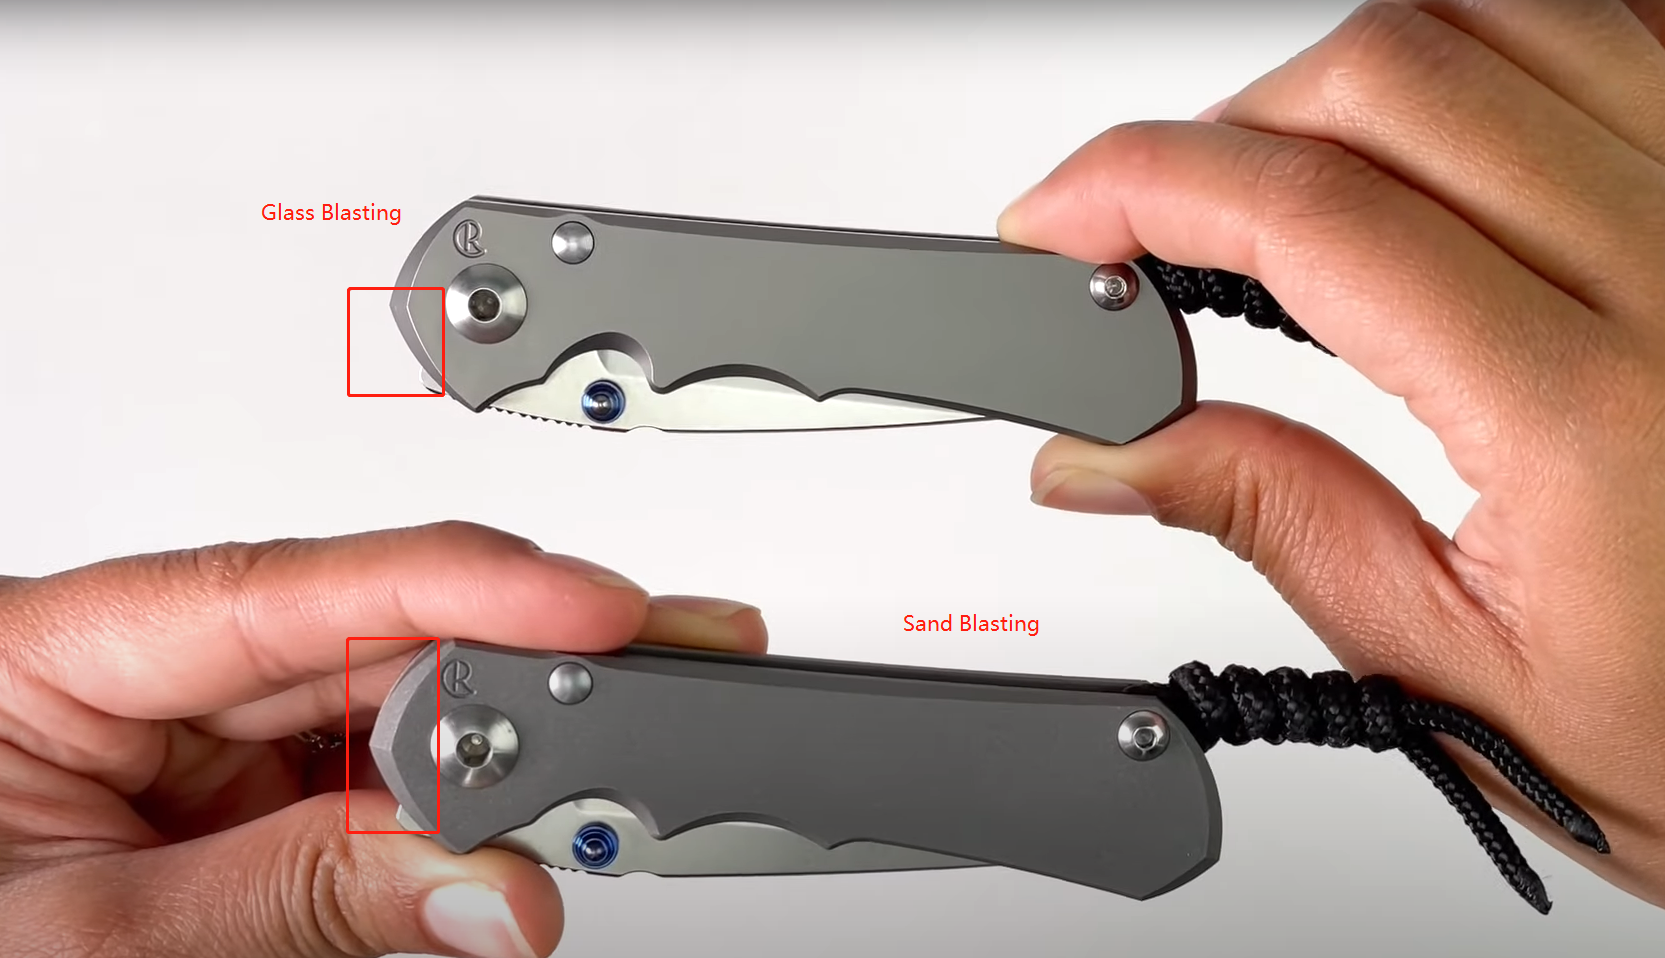
Abrasive media are thrown at the part instead of being rubbed across it. The finish is more even and more matte than a sanded face.
The surface sanding most often receives, and the point at which a burr becomes a finishing problem.
The whole family on one page, so the rung above sanding can be compared against the others before a call-out is written.
FAQ
Sanding FAQ: the questions engineers ask us
What is sanding?
What does the grit number mean?
Can sanding hold a stated Ra?
Can sanding make a mirror finish?
Can sanding create sharp corners and pockets?
Which materials can be sanded?
Is sanding the same as bead blasting?
Does sanding remove material or add it?
How do I get a quote?
Get your sanding quote
Upload a STEP, IGES or PDF drawing. Tell us which faces have to be sanded, how fine the finish has to be, and which features must keep their exact shape - we will come back with the finish and the route together.
What to send us
- Drawing - 2D and 3D files (STEP, IGES or PDF).
- Surfaces to sand - marked on the drawing, with any face that must stay clear.
- Finish or grit - a random texture, a grit number, or a stated Ra if one is required.
- Edge break - how much rounding an edge may take.
- Protected features - threads, sealing faces, corners and pockets that must not be touched.
- What happens next - paint, adhesive or assembly, so the grit is chosen for that step.
All uploads are secure and confidential. Engineers review and reply with a quotation and lead time.