In engineering, types of holes entail many features that define the general appearance and performance of a given product. The hole type chosen affects performance, depending on its purpose—whether for assembly, fastening, or fluid flow.
This article provides information on different types of holes used in machining including blind holes, thru holes, counterbores, countersinks, slots, spot, punched, drilled, reamed, tapped, counterthreads, freeze, and more. So, read on to find how each hole type contributes to the success of the workpiece.
What Does The Hole Features Mean in Machining?
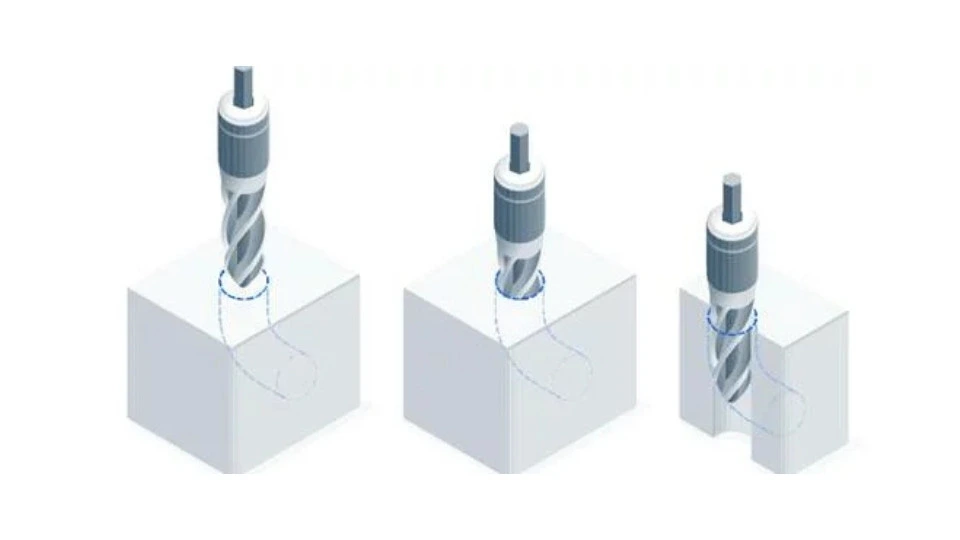
Hole Features In Machining
The hole-making in machining is defined as creating an opening in a workpiece. Many of these features are through features. These features run from the surface into the product interior and are used in the functionality and design.
Regarding consumer durables, from the refrigerator to the automobile, nearly every manufactured object comprises a hole. The most frequent type of hole is cylindrical. However, any of the CNC machining processes can produce holes of square, oval, or taper shapes. Such features can be shaped by using hole drilling edm boring, reaming, tapping, broaching, and laser engraving to provide more precise, accurate, and specialized holes for each requirement.
Typical Hole Features
The shape of a hole or a feature in a part defines its hole features, the machining operations to be employed, and measuring instruments. To ensure high dimensional accuracy in holes, a design typically specifies the following characteristics for each type of hole:
- Shape & Size: Outlines the general shape, product size, and product development project.
- Hole Depth: Defines what extent the given hole is penetrated through the material.
- Hole Location: Gives the precise point in the workpiece where the hole has to be drilled.
- Hole Tolerances: Defines the allowable standards of hole size.
- Surface Finish Requirement: Ensures the quality of the shape of the hole.
- Chamfer: Refers to the angled edges or hole bottom for convenience of assembly.
All these attributes are essential to achieve the required functionality and performance of the end product. (Read more about sheet metal punch hole)
Try Prolean Now!
Types of Holes in Engineering & Manufacturing
In engineering and machining, hole features are always incorporated in part design to perform specific roles. They are designed to achieve certain design properties, allowing components to serve their intended purpose. Let’s see a detailed overview of the types of holes usually made when machining or manufacturing.
Blind Hole
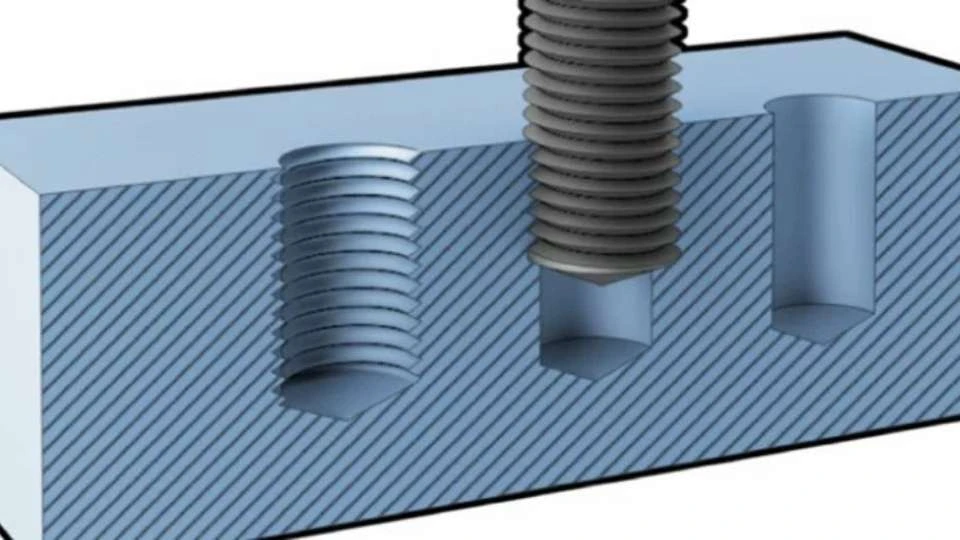 Blind Hole
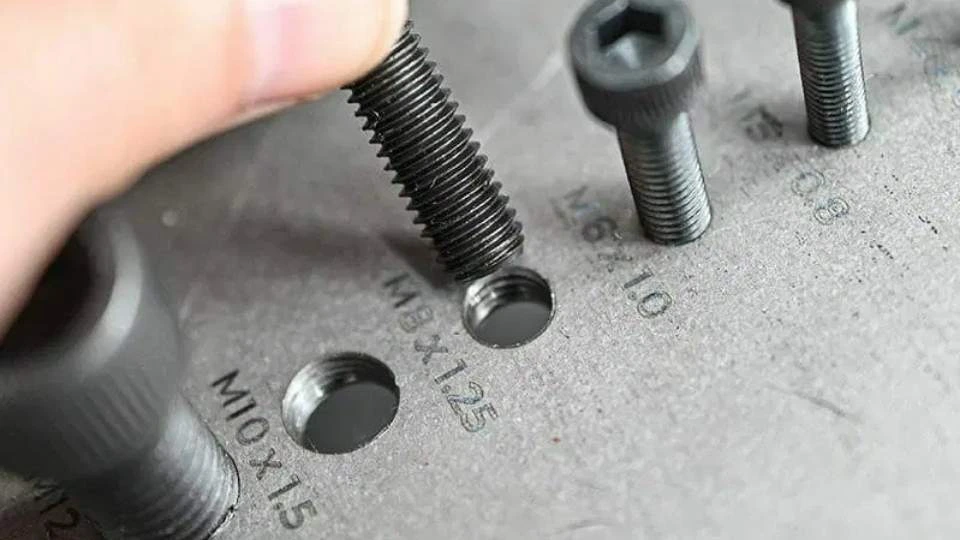
A blind hole has a specific depth but doesn’t extend through the material to the other surface. These are shaped by cnc drilling, reaming, or milled to a special extent but don’t go through the other side of the workpiece. Blind holes are often applied for the measurement of residual stress. Moreover, They are used to place a fastener in a hole without the fastener passing through the material.
When defining a blind hole, Engineers typically define the hole size by its diameter and depth, or by its length and diameter. Blind holes in CNC machines can be made by running the thread milling cycle, and threading can be done by conventional tapping, Single-point threading, and Helical Interpolation.
Through Hole
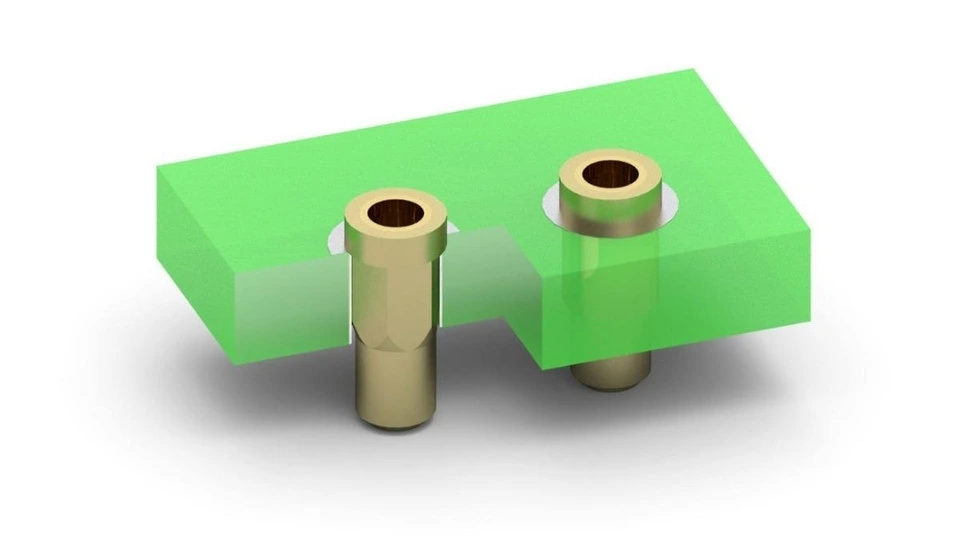
Through Hole
A through hole is defined as a hole created in a material with its two ends opening at opposite sides of the material. It is the most frequently used type of hole in machining operations. A through-hole callout symbol is a circle with the hole diameter indicated inside with the symbol “Ø”.
Through holes are used in many applications where components must be inserted through the material. For instance in printed circuit boards( PCBs). In addition, these types of holes are employed in construction where they provide means for holding together components bolts, or screws.
Interrupted Hole
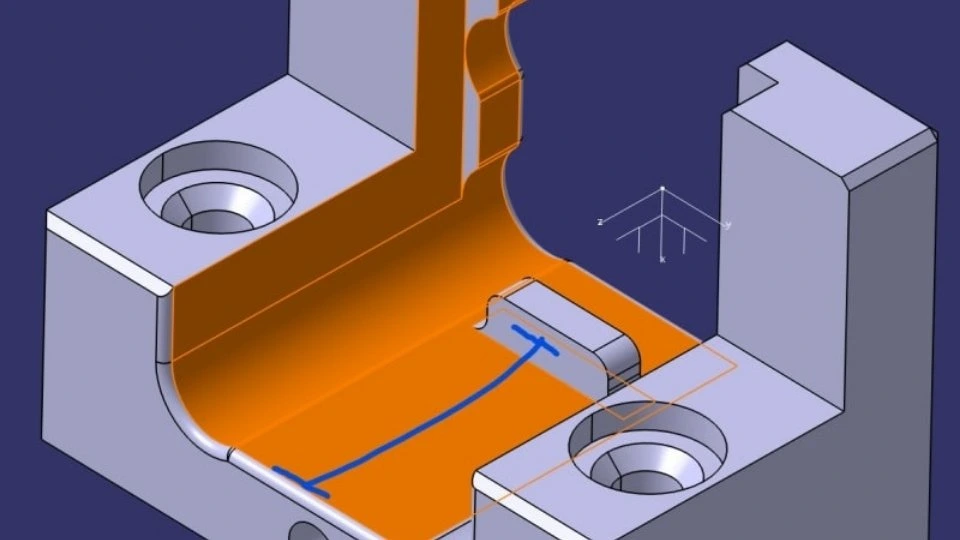
Interrupted Hole
An interrupted hole is one where the passage is disrupted by another feature. This makes the hole path discontinuous. For example, certain regions of the material may be traversed by flaws produced during drilling or cutting.
Interrupted types of holes are common in intricate cutting processes where particular portions of the material must be left uncut. Additionally, multiple holes can be drilled in one operation, with spaces between them. The process requires cycles of material removal and non-removal. Cutting movements are needed to achieve the desired result.
Simple Hole
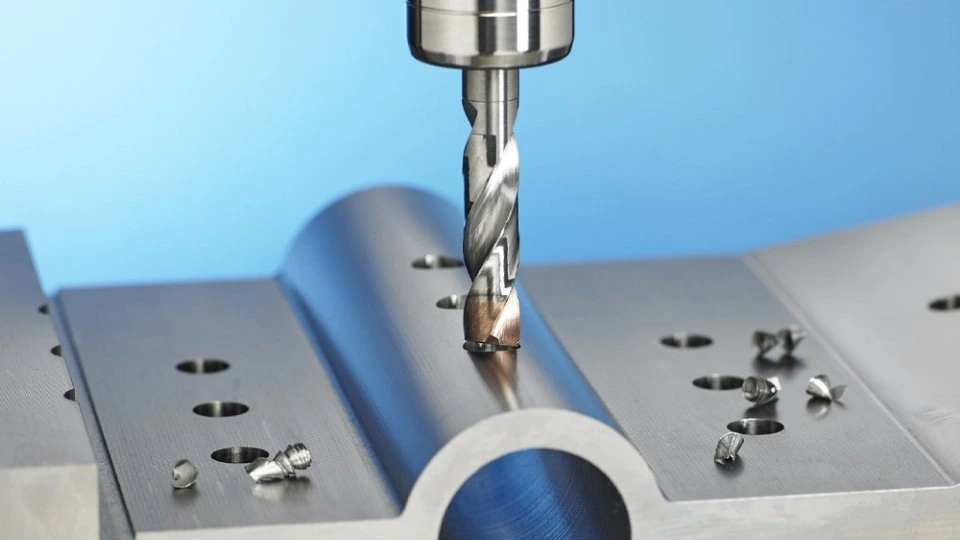
Simple hole
Simple holes are most most straightforward types of holes to create in a machining application. It is a simple round hole made through a workpiece for receiving fasteners or other parts.
The diameter and the depth of the simple hole are established in the design requirements. These holes can be produced in large quantities and incorporated into many products, including assembly line products and structural parts.
Counterbore Holes
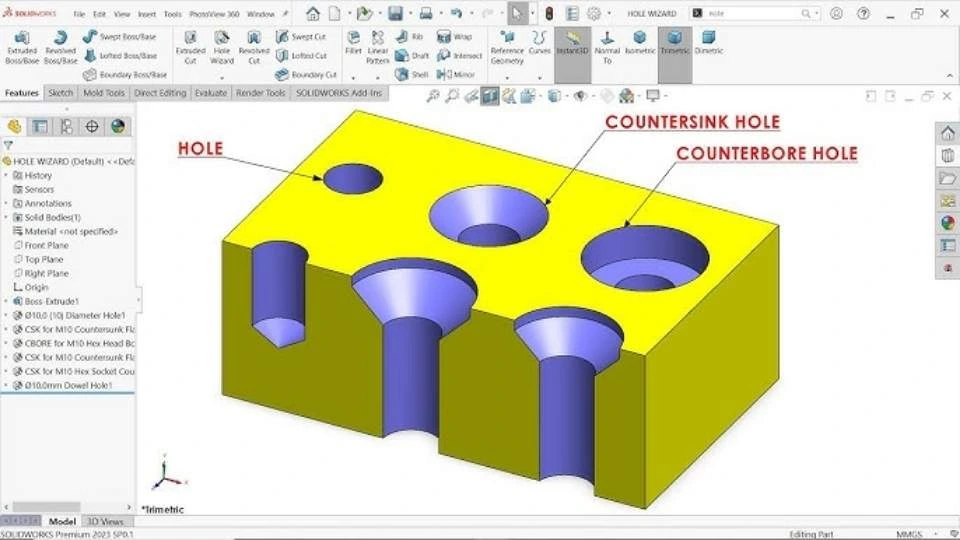
Counterbore holes
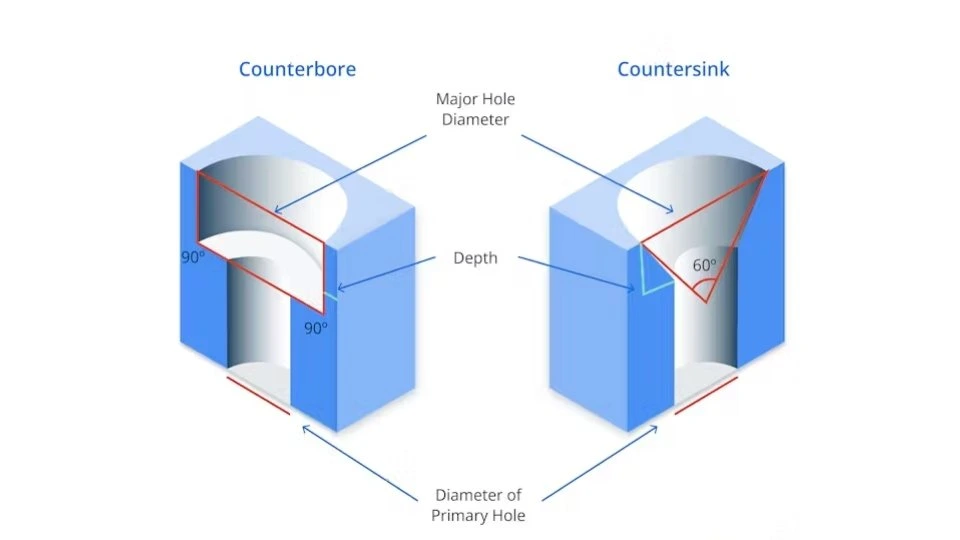
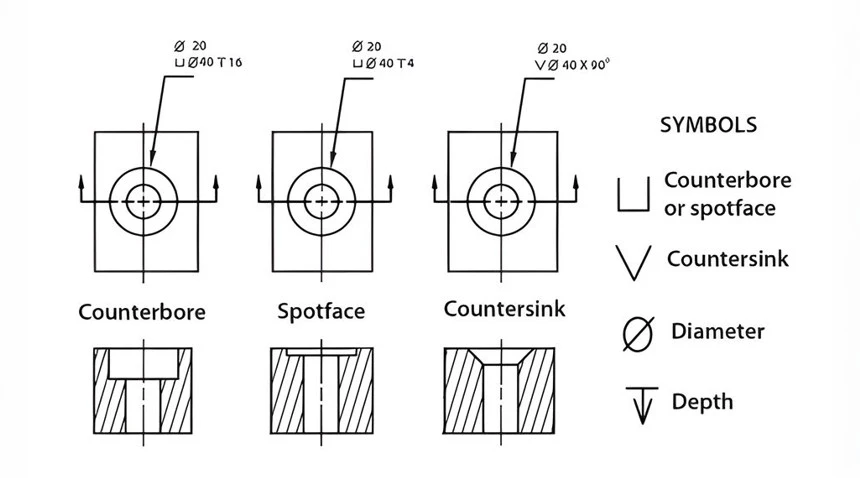
A counterbore has a larger diameter at the top. So when a screw or bolt head is put in the hole the head is flush with the material surface. Specifically, it is important when the fastener’s head sits flat on the surface or below it. The callout symbol for the counterbore hole is “⌴” and the diameter of the counterbore plus the depth of the hole is given. In addition, these types of holes are commonly used in applications where the SHCS (Socket Head Cap Screw) is required.
Spotface Hole
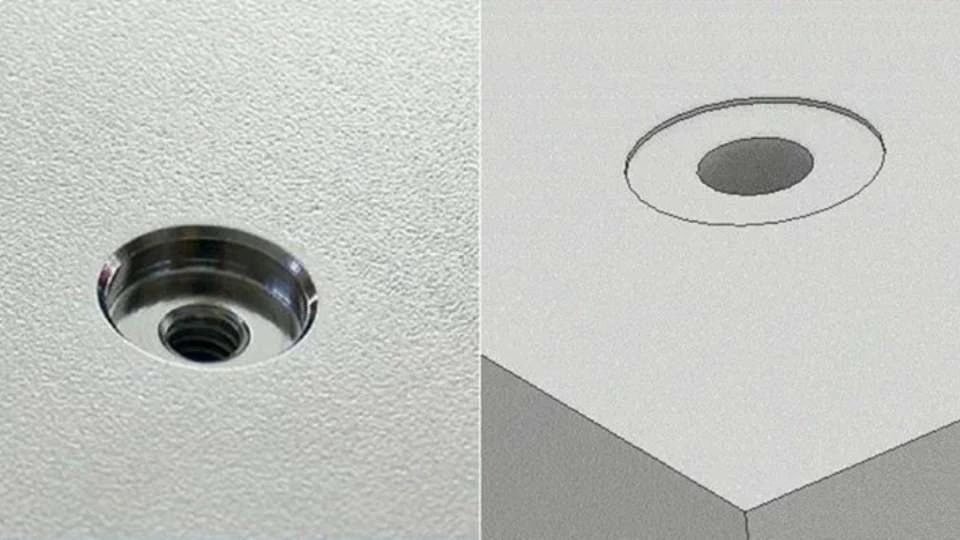
Spotface hole
A spotface hole is similar to a counterbore. Although it is not as deep as counterbore holes. Spotfacing produces a flat and smooth surface on a rough or uneven cast/forged parts surface. This allows a component and fastener to sit level with the surface.
The symbol for spotface holes is the same as a counterbore, but the letters SF are placed inside the symbol. Spotface holes facilitate the assembly process, where the parts must fit well, for example in the case of parts made out of cast material where the surface finish may not be even.
Countersink Hole
Countersink Hole
The countersink hole is drilled to taper in size as it moves upward. Hence it gives the effect of sinking the fastener. The countersunk hole is symbolized by the callout symbol “⌵”. Because these holes look like cone-shaped.
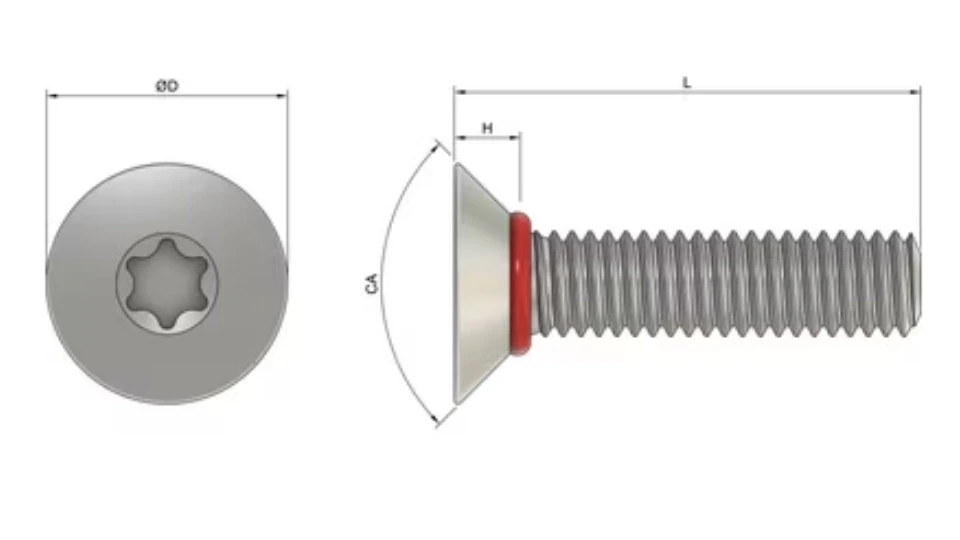
Countersink holes are made when you have screws or bolts to be partially or completely embedded into the material with no protruding head. These are especially used in applications where appearance or airflow is an issue. For instance in automobile production or aircraft construction.
Counterdrill Hole
The counterdrill holes are the same as countersink holes. They contain a depression above the hole. Similarly, these holes are represented by a symbol; much like countersink holes, but with an additional dimension, which refers to depth.
Counterdrill -types of holes are used when a countersunk screw or bolt is needed. They are commonly used in PCB manufacturing for countersunk fasteners. The counter-drilled hole allows the fastener to sit below the surface. It also ensures proper orientation for joining.
Tapered Hole
Tapered Hole
In tapered holes, the diameter of the hole increases from one end to the other and vice versa. The call-out symbol for tapered holes is usually indicated by a triangle with a line through it.
The tapered types of holes are widely used in engineering structures to fix cutting tools or tool holders in the aerospace and automobile manufacturing industries. These holes enable the clearance of the conical-shaped components in such a way that they fit well and securely during operation.
Screw Clearance Hole
Screw Clearance Hole
A screw clearance hole is a through-type hole. These are drilled slightly larger in diameter than the nominal thread diameter of the screw head.
These holes are useful when the screw or bolt threads through the material, but the head does not. The second dimension is the size of the screw clearance hole. It is based on the diameter of the screw and its head, excluding the shaft diameter. Screw clearance holes are used in fastening operations across various engineering fields.
Tapped Hole
Tapped hole
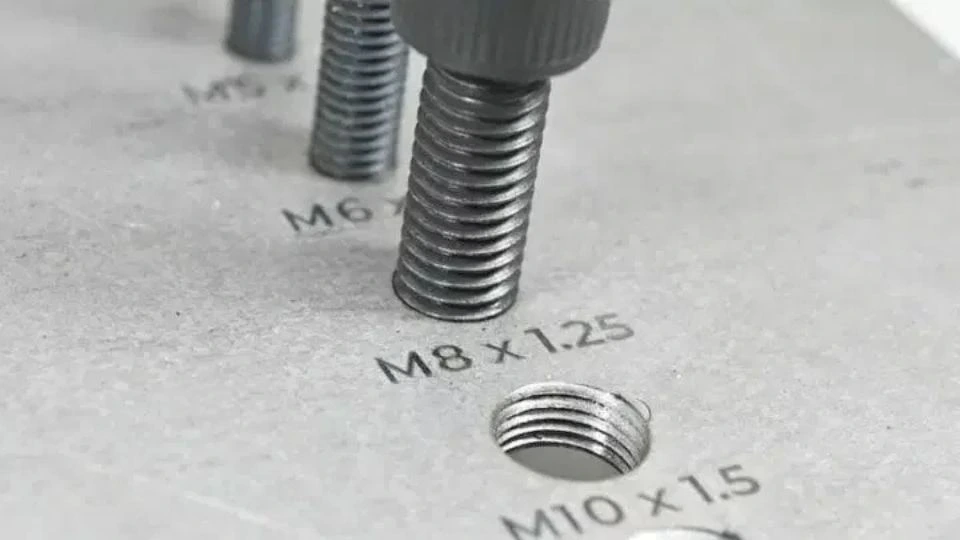
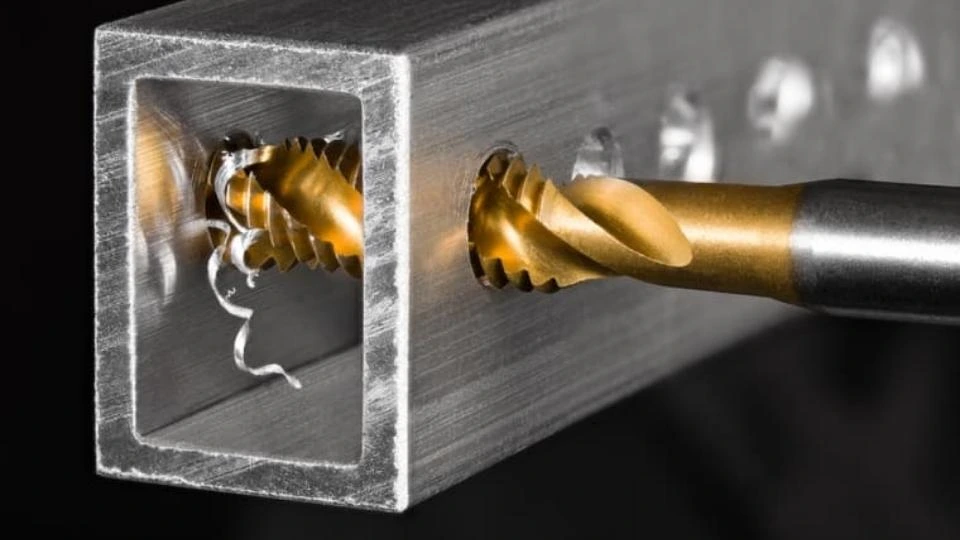
A tapped hole includes internal threads. These are formed through the process called tapping. It is used when a machine screw needs to pass through the hole, with the threads going directly into the material.
The callout symbol for a tapped hole may also have an “M” for metric threads or another symbol for the type of thread; the depth and thread details will be given here. Tapped holes are mostly used in metals and other commodities where extra threading cannot be done, and a stronghold is required.
Threaded Hole
Threaded hole
Threaded holes are similar to tapped holes. However, they are made by a thread-forming operation. It results in the formation of internal threads in the hole. This is done using a die tool to shape the exterior and tapping to shape the inside of the hole.
Screw threads are important for joining parts with matching thread patterns. These are commonly used as the last stage of the machining process since it enables all parts to be joined using threaded fasteners.
Try Prolean Now!
Basic Hole Callout Symbols For Types of Holes
 Hole Callout Symbols
Here’s a list of the hole callout symbols for each of the hole types mentioned:
- Blind Hole: “Ø”
- Through Hole: “Ø” (Diameter symbol inside the circle, indicating the diameter of the hole)
- Interrupted Hole: No specific symbol
- Simple Hole: No specific symbol
- Counterbore Hole: “⌴” (Counterbore symbol with diameter and depth provided)
- Spotface Hole: “⌴” (Counterbore symbol with “SF” inside)
- Countersink Hole: “⌵” (Countersink symbol indicating the cone shape)
- Counterdrill Hole: Symbol similar to Countersink
- Tapered Hole: Triangle symbol with a line (indicating the taper)
- Screw Clearance Hole: No specific symbol
- Tapped Hole: “M” (For metric threads)
- Threaded Hole: Similar to Tapped hole
Quick View: Table for Types of Holes
| Hole Type | Purpose |
| Simple Hole | Used for clearance, positioning, or assembly |
| Through Hole | Enables fastening or fluid passage between materials |
| Blind Hole | Used for hiding screws or parts, providing a clean look |
| Tapered Hole | For press-fit connections or creating specific fits |
| Tapped Hole | Creates internal threads to accommodate screws or bolts |
| Counterbore | To create a recess around a hole for a flat surface |
| Countersink | Allows screws or bolts to sit flush with the surface |
| Counter Drills | Provides a recess for fastener heads to sit flush |
How to Choose the Right Hole Type for Your Project?
Choosing the right hole type for your machining or fabrication project is vital to getting the part to work as required and standard. It depends on the part requirement, the material type being used in the part production, its utilization, and even the part design. Follow these guidelines to make the right decision:
- Understand the Purpose: Determine the purpose of the hole in the part. Whether you need a small or large hole, an elongated hole a round one, or even a square one.
- Determine Size and Shape: Depending on the goal, choose the size and the form of the hole. The most common hole shapes are round, square, and rectangular-shaped holes.
- Consider Material Type: Different materials will call for a different drill bit or hole saw depending on the material being used. The type of material may be more suitable for a specific type of machining like aluminum steel or plastic they all need special tools.
- Hole Depth: The hole depth is the key feature that influences the choice of cutting tool. So, it’s important to understand that some applications need deep holes while others need shallow holes. (Get more insights about boring vs drilling)
- Choose the Right Power Source: Sometimes it can be a thick material and sometimes it might be a hard material and therefore you will require a more powerful drill or a machining tool. So, make sure that you choose the right power source that will give you the right hole standard.
Try Prolean Now!
Get Professional Services at Prolean Tech
The correct hole type and the quality of the final product are key factors that determine the performance of the finished product. The choice of materials and their machining have consequences on the final result of your work. Hence before making any decision, it is always advisable to seek opinions from professional experts to avoid wrong and time-consuming decisions.
At ProLeanTech, we understand how significant hole-making is to your designs. Our complex precision machining, CNC turning, milling, and cnc drilling service make it possible to realize your designs most accurately. We are committed to delivering the highest quality products and services in manufacturing. Contact us for more details.

0 Comments