“Welding plays a significant role in sheet metal part fabrications. Minor negligence in selecting the welding technique and intended material could weaken the joint and add additional expenses to the budget, thus increasing the part fabrication project time and adversely impacting overall productivity and profitability.”
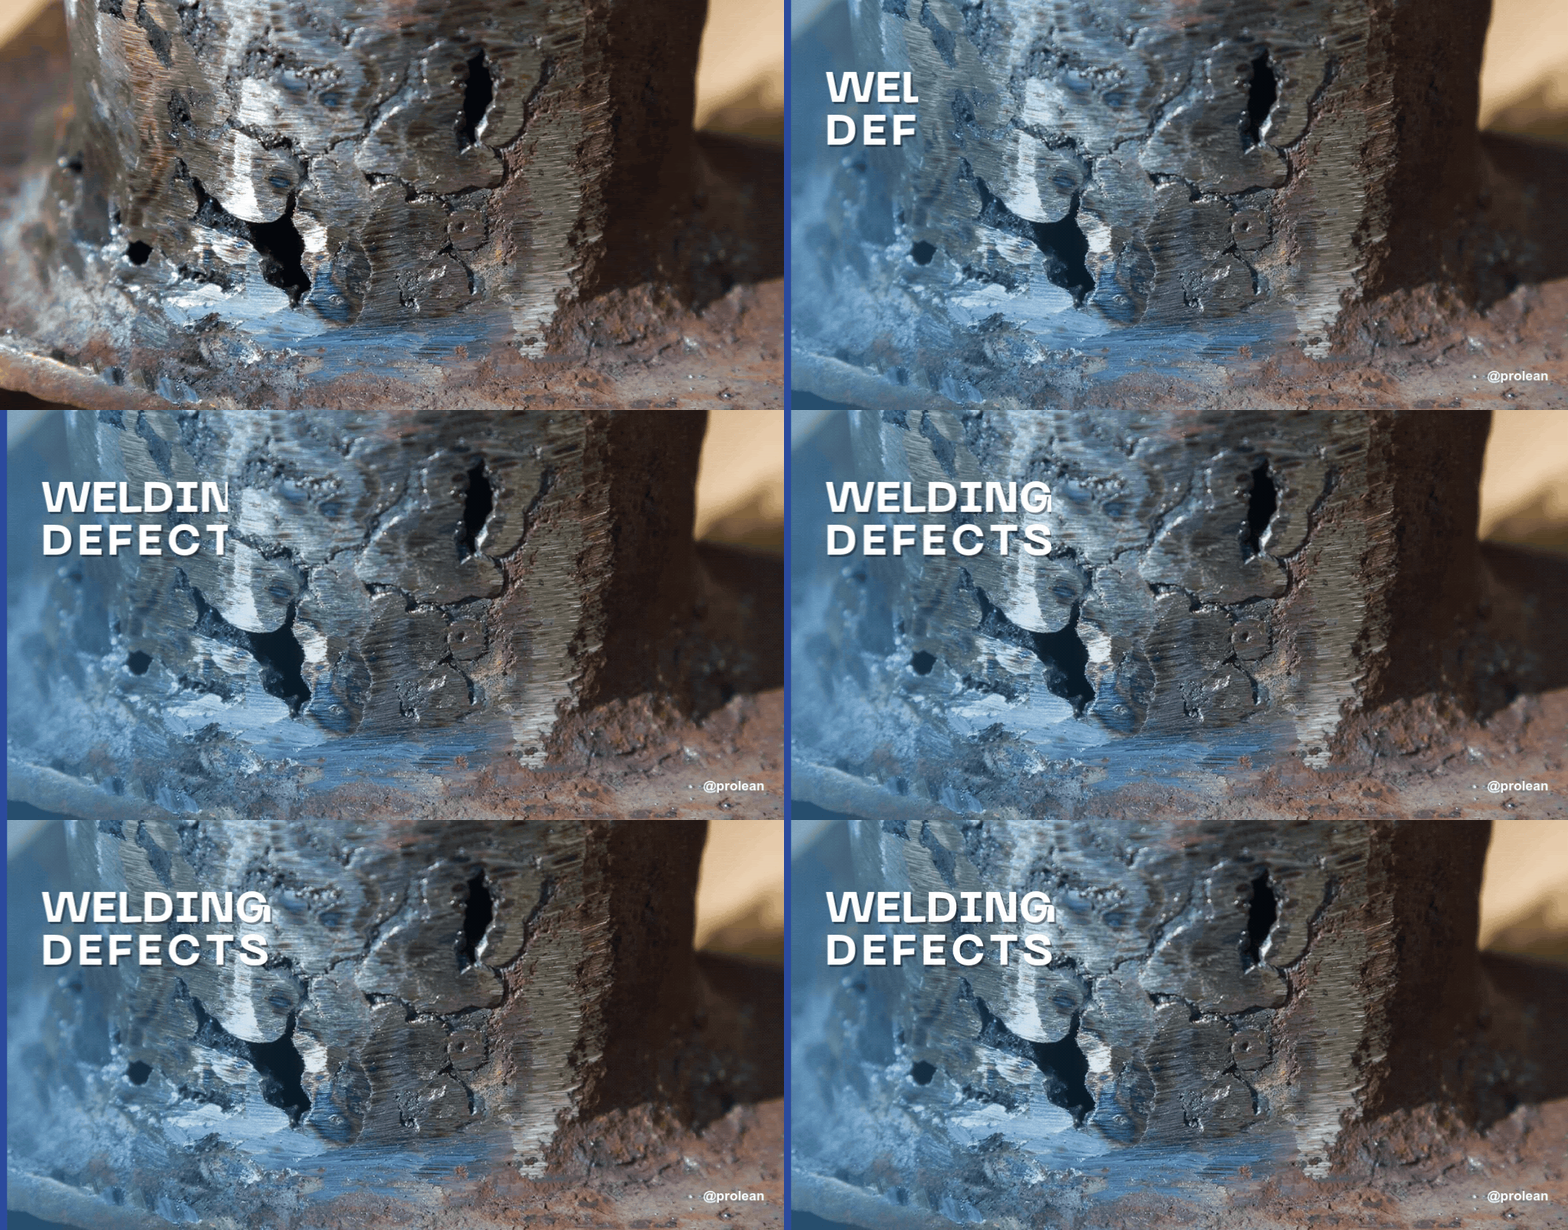
Welding defects can be hazardous to structures regardless of the size, whether a giant Ferris wheel or a small workpiece. These bad welds occur due to improper welding and may hurt the quality of the weld. Not all discontinuities are necessarily defects; however, if they are large enough to be seen by the inspector, they are considered defects. Welders try to avoid these imperfections to minimize wastage and get the best optimal welds. Welds should not be rejected; welders must understand different welding discontinuities, their causes, and how they can be prevented.
The blog post clearly explains what CNC machining defects are and how they can be avoided.
Why It’s Important For Preventing Defects?
Welding defects, such as hot or cold welding, lack of fusion in casting, or bad welds, cause significant downtime delays and result in part reworking. Therefore, understanding different welding defects, their causes, and preventive takeups to avoid metal distortions could help create high-quality parts or products.
Try Prolean Now!
What is a Weld Defect?
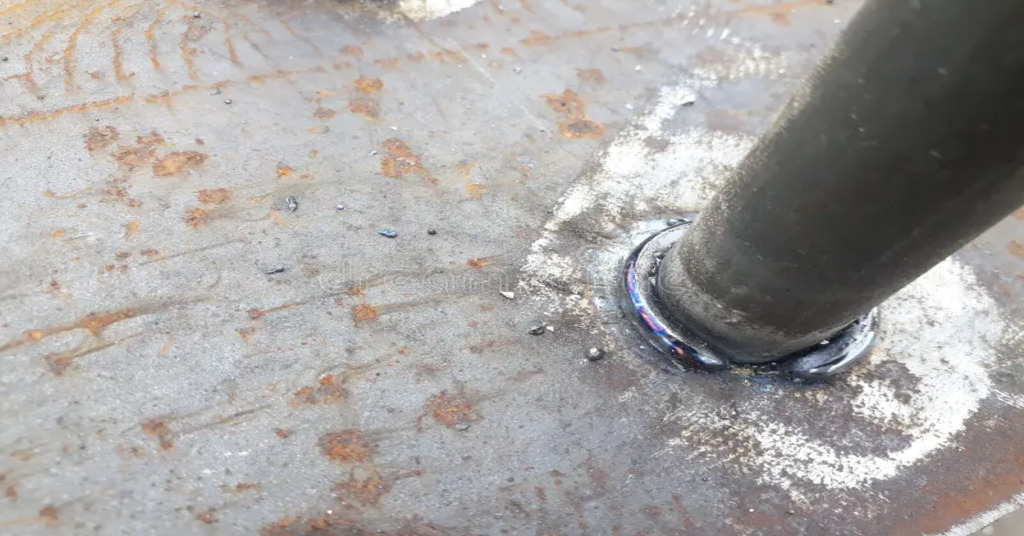
Close weld defect
Weld defects are imperfect or inaccurate welding that weakens the welded joints and is thus undesirable. These defects are unacceptable in the welding process since they affect the overall quality of the welded product. On a dimensional basis, weld defects can be classified into two categories. The first type involves a deep drawing defect, which occurs when the weld is not the correct size. The second type is material imperfection, which refers to the fact that the material of the weld is not perfect. Possible causes may include wrong welding technique, inappropriate material selection, unskilled welder, or wrong welding settings such as welding speed, current, and voltage. The approach to dealing with certain welding imperfections varies depending on the defect encountered. Some can be corrected immediately, while others may need the part to be rewelded and have to pass the process again.
Weld defects are generally classified into two types: internal defects, which exist within the weld, and external defects, which are on the surface of the weld. Understanding these classifications and their causes is, therefore, essential to improve the performance of welded joints.
Common Types of Welding Defects
Welding defects can be categorized as either surface or subsurface, according to their position in the metal.
1. External Welding Defects
These defects appear on the surface of the welded joint. They can often be detected by the naked eye or by techniques like Magnetic Particle Inspection (MPI) or Dye Penetrant Inspection (DPI). The most frequent external welding defects include cracks, undercuts, overlaps, porosity, and spatter.
2. Internal Welding Defects
Internal defects are not visible on the material’s surface. Rather, they are present inside it. Methods such as Ultrasonic Testing (UT) or Radiographic Testing (RT) are used to identify these defects. Examples of internal weld defects include slag inclusions, incomplete penetration, and incomplete fusion. It is essential to identify these defects to guarantee the quality of welded structures.
Let’s Discuss First External Welding Imperfections
Here are some common defects that usually occur during the welding process.
Undercuts
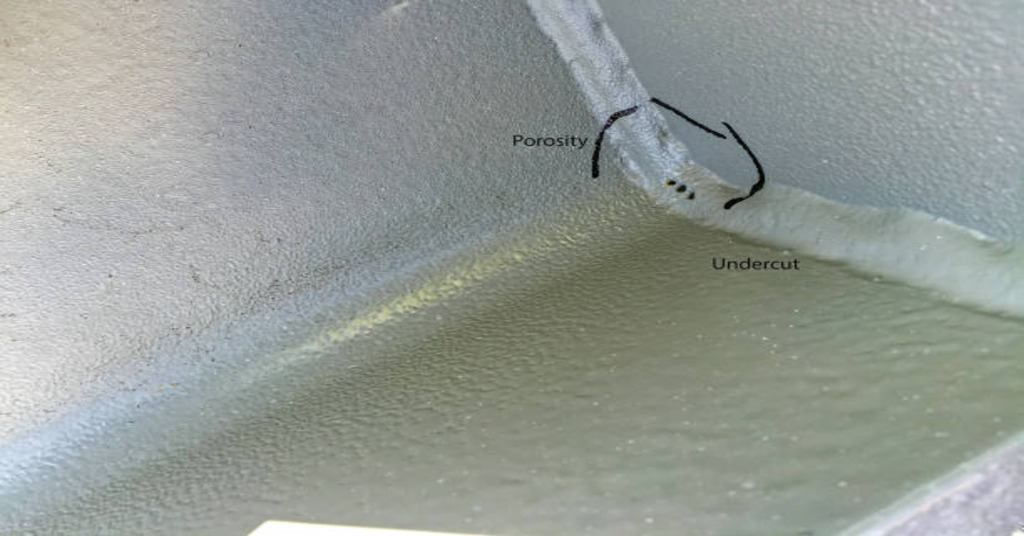
Undercuts
Undercuts are narrow grooves along weld edges, caused mainly by high arc voltage and travel speeds. They reduce the mechanical strength of the parts to be joined through welding.
Prevention
- Welding speed should be adjusted to achieve the required amount of heat input.
- Ensure that you use an electrode of the right size to facilitate the right deposition of the filler material.
- Adjust the arc length and the voltage settings.
- For the same reason, it is possible to make several passes to decrease the depth of the groove.
- The torch angle should be maintained between 30 and 45 degrees Celcius to ensure proper bead formation. These preventive measures strengthen welds and reduce undercut risks for durable joints.
Cracks
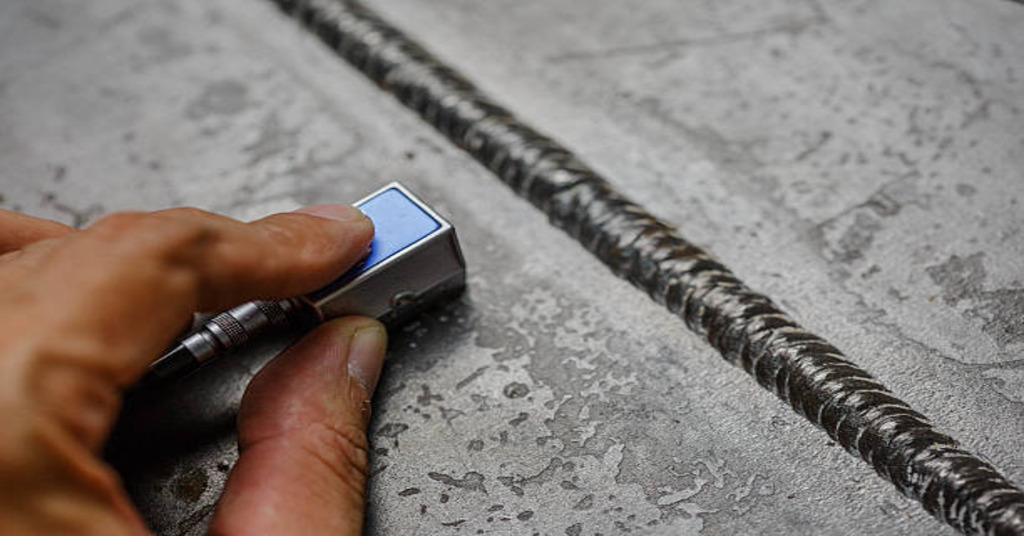
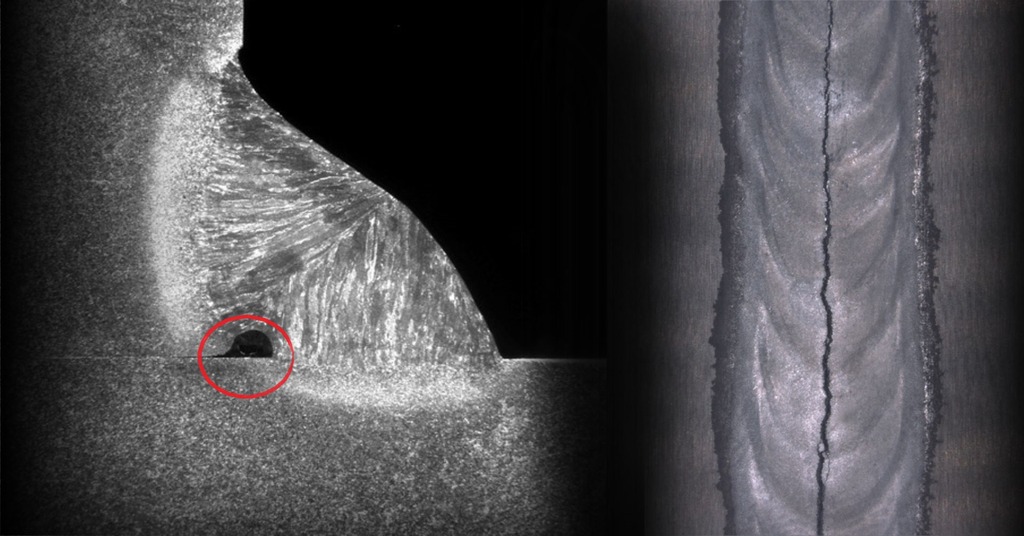
Welding cracks
Welding cracks are severe defects affecting joint strength. They can develop anywhere on the part surface and are often categorized into two forms:
- Hot Cracks: These cracks appear when temperatures rise as high as 10,000 degrees Celsius. They are usually invisible and require a microscope because they are tiny and can not be seen by the naked eye.
- Cold Cracks: While hot cracks happen during welding, cold cracks arise after welding, usually during the solidification phase of the part. These bad defects may take hours or days to appear.
Consider the following preventive measures to avoid crack formation;
- Use controlled cooling to avoid sudden quenching or temperature increase in the weld area.
- Heat the joint to the actual required temperature to reduce the thermal stress.
- Set the welding parameters appropriately, with sufficient current levels and travel speeds, by keeping them low enough.
- For creating raised or recessed patterns, use the embossing process for optimal structural integrity and strength.
- Ensure that stress is uniformly distributed across the weld by designing joints properly.
- Also, make sure to use a suitable filler material with a uniform composition of the alloy to match the base metals exactly.
- The measures described above can help minimize the possibility of crack formation in welded joints, and guarantee the weld’s strength and longevity.
Spatter
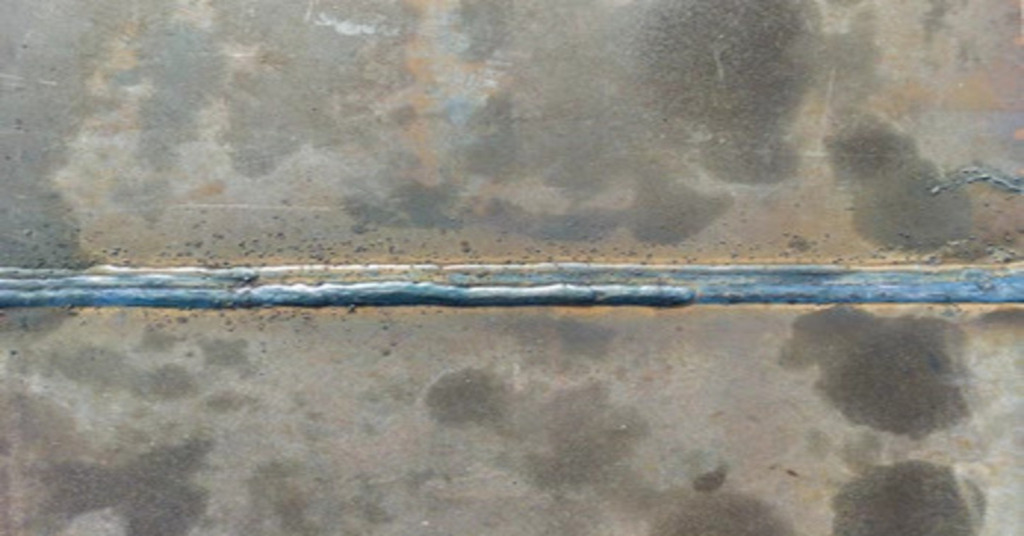
Welding spatters
Spatter usually appears in MIG welding. It refers to molten metal sticking to nearby surfaces, affecting only the aesthetics of the intended part but not structural strength.
To prevent spatter formation, consider the following cautions:
- Firstly, thoroughly clean the base metal before welding.
- Use suitable gas shielding to generate cuts.
- Adjust the welding amperage or current for the specific material.
- Maintain a short arc length during welding to minimize spatter formation on a part.
- Regularly check and clean feed wire obstructions for smoother welding.
Weld Overlap
Weld overlap
A weld overlap is a condition in which the filler material at the edge of the weld does not have a proper bond with the metal, and the weld pool extends beyond the required area. This leads to the formation of the weld metal at an angle less than 90 degrees.
Causes of Overlaps
- Inappropriate welding process
- Different orientations and angles of the electrodes during welding
- Utilization of large-size electrodes
- High welding current or excessive heat input
Prevent Take-ups for Overlaps
- Select the right welding technique to make sure the arc length is positioned conveniently.
- Ensure that the electrodes are fitted at the same angle during the welding process.
- Try to avoid large-size electrodes.
- It’s crucial to perform the welding process in flat positions as much as possible.
- To control the pool flow, try to reduce the heat input or welding current
These factors can be used to reduce the chances of weld overlaps and thus improve the strength and durability of the welds.
Porosity Welding Defects
Weld porosity is a common problem that occurs when gases form pockets in the weld. This compromises the weld’s strength and quality. The weld metal comes into contact with the environment and captures gases like steam and hydrogen.
To prevent porous welds, here are some helpful tips:
- Before welding, remove contamination from the weld surface.
- Speed up the welding process to let the gases be released more easily.
- Ensure the gas flow meter is properly set to allow the right shielding gas flow.
- It is also important that the base metal should be clean and ready for welding so that there will be good bonding.
- It is important to ensure that the joint is free from moisture before welding so as to avoid complications arising from moisture.
- Regulate the flow of shielding gas to an optimal level to ensure the proper protection is provided.
- Do not set the amperage too high to avoid porosity of the surface being welded.
- Select the right electrode alloy that will best suit the welding job that is to be done.
Try Prolean Now!
Let’s Discuss Internal Welding Discontinuities
Here are some common internal welding defects that generally appear during welding.
Slag Inclusions
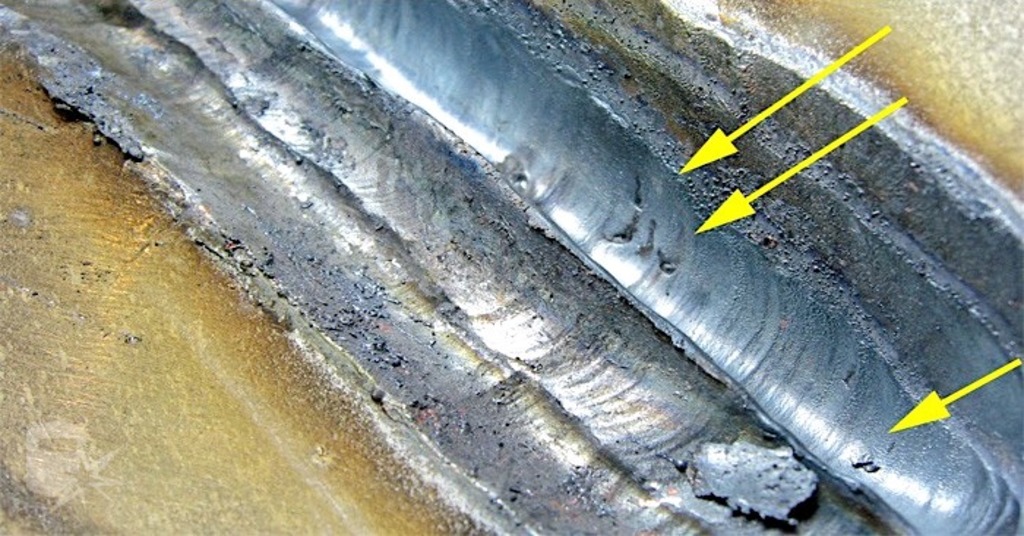
Slag inclusions
Inclusions are slag-like particles that can be detrimental to the strength of a weld if they are entrapped on the weld surface. Usually, they occur in stick welding and arc welding processes due to high current density.
To prevent inclusions, try these preventive take ups;
- It is essential to clean and prepare the base metal properly before welding.
- Do not set the low amperage.
- Let the weld cool slowly to enhance the flow of the material and minimize the chances of impurities forming.
- Ensure that the angle of the torch is at its best throughout the welding process.
- Weld steadily and moderately to reduce the possibility of slag in the weld material.
Incomplete Penetration
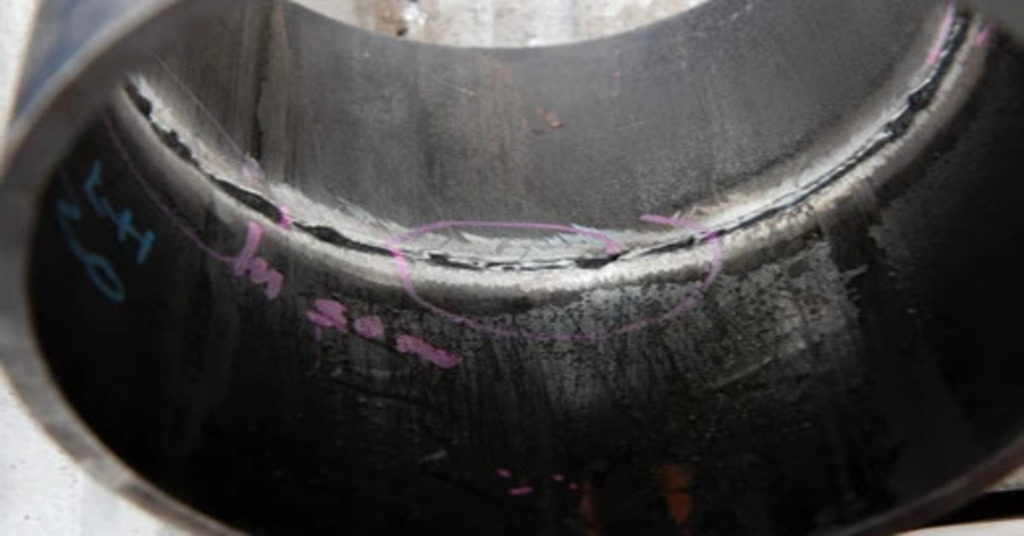
Incomplete penetration
Incomplete penetrations frequently happen when the weld bead does not penetrate through the thickness of the plates in a butt joint appropriately. These defects result in a weak metal joint or weld.
To prevent incomplete penetration, consider these welding tips below:
- Select the appropriate joint type and ensure they are correctly aligned before welding.
- Decrease the welding travel speed to enable the weld to penetrate deeper into the material.
- Choose an electrode size that will suit the welding needs required in the project.
- V-grooves for butt joints should be made with sloped sides of 60 to 70 degrees to ensure proper welding.
Incomplete Fusion
Imperfect fusion occurs when the weld metal and the base metal do not join properly or when the layers of the weld are not well bonded. This can happen if the filler material does not bond with the base metal on both sides of the welds below in multiple-pass welding.
To prevent incomplete fusion, try to follow the things mentioned below;
- It is also essential to ensure that the base metal is free from any impurities by washing it properly.
- Select the right electrode size for the job.
- Make sure you use the correct alloy for the electrode.
- Do not move or swing the cutting torch too much during welding.
- Ensure the arc length is appropriate to avoid some material not fusing correctly.
- Maintain the welding amperage to allow the metals to fuse appropriately.
The distinction between Weld Discontinuity & Weld Defects
Weld discontinuities are defects in the weldments caused by improper welding practices or procedures. These deviations may affect the weld bead’s size, shape, and quality and manifest as internal or external imperfections.
In contrast to weld defects:
- A weld becomes a weld discontinuity when the quality control department totally rejects it.
- Discontinuities can be passed through field tests, while defects cannot.
- While discontinuities may be tolerated to a certain extent, defects are either corrected or the product is scrapped.
- Discontinuities are typically within manufacturing tolerance limits, while defects are not.
Therefore, inspection using efficient techniques is crucial in welding processes.
Try Prolean Now!
Final Thoughts
Welding defects are not simply aesthetic problems; they generally hurt quality and can cause accidents. If this is not done, there is a high likelihood of accidents or even loss of lives. This paper will discuss the welding procedures required to protect welders and end-users. Advanced technology and proficiency help reduce the number of defects and ensure the quality and safety of the products.
FAQs
Q1. What are the methods of welding or inspection that do not involve the destruction of the material?
Visual inspection may not be adequate for detecting internal welding defects, which makes NDT crucial. Magnetic Particle Inspection (MPI) is used to identify surface breakage and small defects, but it is not helpful for subsurface discontinuities. Ultrasonic Inspection (UI) involves using high-frequency sound waves to detect defects in and outside the weld’s locations. Additionally, the Radiographic Inspection (RI) defect inspection method uses gamma or X-rays to quickly inspect and identify inappropriate welds.
Q2. What is the easiest method to identify the weld?
To check for welding defects, begin by making a general assessment of the weld. Correct it if you find anything wrong to make your work as perfect as possible.
Q3. What cutting process is considered for precision and accurate welds for tight dimensions?
CNC Laser cutting is notably considered the optimal technique for precision needed cuts and welds. Generally, laser cutting defects are minimal when using laser cutting machines for the intended application.
Q4. What measures should be taken to avoid having bad welds?
To prevent the formation of poor welds, weld at a constant speed, clean the workpiece before welding, and ensure that the polarity is well handled during the welding process.
Q5. What are some process-specific welding defects?
There are many ways to perform welding. Some commonly used techniques include TIG, MIG, and laser welding. These techniques are relatively more precise and help replicate more detailed patterns. Despite this, defects usually occur, and some common welding defects include whisker necklace cracking.


I do agree with all of the welding ideas you’ve presented in your post. My welding experience says they are very useful!
Thank you for your comment!