CAPABILITIES
Custom Laser Cutting Service
Achieve precise cuts, shapes, and engravings with ProleanTech’s CNC laser cutting. Our advanced CO2, Nd, and Nd: YAG lasers tackle even the most complex designs.
- Fine tolerances down to ± 0.005 ″ (0.127 mm)
- CMM, FAIR, First Article Inspection, etc
- Lead time as fast as one day
- Aluminum, Steel, Stainless Steel, and more

All uploads are secure and confidential.
Our Amazing Clients

What is CNC Laser Cutting?

CNC laser cutting involves a concentrated beam of laser that precisely strikes the workpiece, melts the material, and erodes it to create the desired shape. Different laser sources generate the laser beam, which is further amplified to a high concentration and guided by CNC codes.
Our CNC laser cutting services have CO2, fiber, Nd, and Nd: YAG laser sources. These options allow us to process 50+ metals and plastics according to specified requirements.
Our experienced engineers work closely with clients, from quotes for online laser-cutting services to parts dispatching.
Try Prolean Now!
How does CNC Laser Cutting work?
The fundamental working of CNC laser cutting starts with a detailed CAD design of the part. According to that CAD design, CAM software creates the instructions for the movement and speed of the laser beam, and the laser cutter executes the instructions to achieve the desired shape.


Cutting Process: Now, the laser head follows the CNC codes and moves in a pre-determined path.
Our Laser Cutting Capabilities
| Capabilities Description | Metric |
| Dimensional Accuracy | As low as ±0.127 mm (±0.005″) |
| Positioning Accuracy | ±0.1 mm |
| Thickness Range | 0.2 to 25 mm for metal, up to 100 (4″ )mm for some materials |
| Min Feature Size | 1 x 1 mm (0.040 x 0.040″) |
| Max Part Size | 3000 x 1500 mm (120 x 60″) |
| Min Part Size (2D) | 25 x 25 mm (1 x 1″) |
| Min Part Size (3D) | 25 x 25 x 0.2 mm (1″ x 1″ x 0.008″) |
| Min Hole Size | 0.14 mm (0.0055″) |
| Min Lead Time | 1 Day |
Type of Laser Cutting Services

- Metal Laser Cutting Service
We can process steel, zinc, aluminum, titanium, copper, brass, platinum, and other 50+ metals and alloys with high precision. Our laser can cut metal sheets 0.2 to 25 mm thick.

- Plastic Laser Cutting Service
We are not only limited to metal options, but our laser can also shape the thermoplastics and thermosets with a thickness limitation of 100 mm (4″)- PC, ABS, POM, etc.

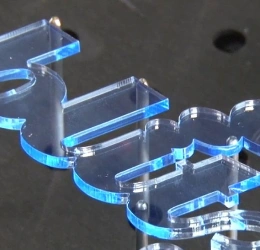
- Acrylic Laser Cutting Service
Our CO₂ acrylic laser cutting equipment produces transparent parts to replace glass, such as electronic enclosures, plaques, shop tools, etc. We are also flexible regarding further polishing and custom aesthetics.
How to Place Your Laser Cutting Order?
Get a personalized quote from an expert engineer! Submit your CAD design and get a detailed quote within just one hour. Click now for a fast, professional response!

Get Quote within one Hour
Upload your design by clicking Get a quote below, or email our engineer directly and get your quotes in as fast as one Hour.
We Accept DXF, EPS, DWG, AI, STP & STEP, and other files.

Start Production
Your parts will be made once your orders are confirmed. Our customer service personnel will update you with images or videos of each production procedure.
No minimum order quantity required! Contact us for a free quote and enjoy flexible ordering

Receive Your Part
After all parts pass QC inspection, they will be well packed from transportation accidents. Then, your custom parts are delivered straight to your doorstep.
Standard shipping in 3-5 days, with expedited options available for as fast as 2 day
Materials for CNC Laser Cutting Service
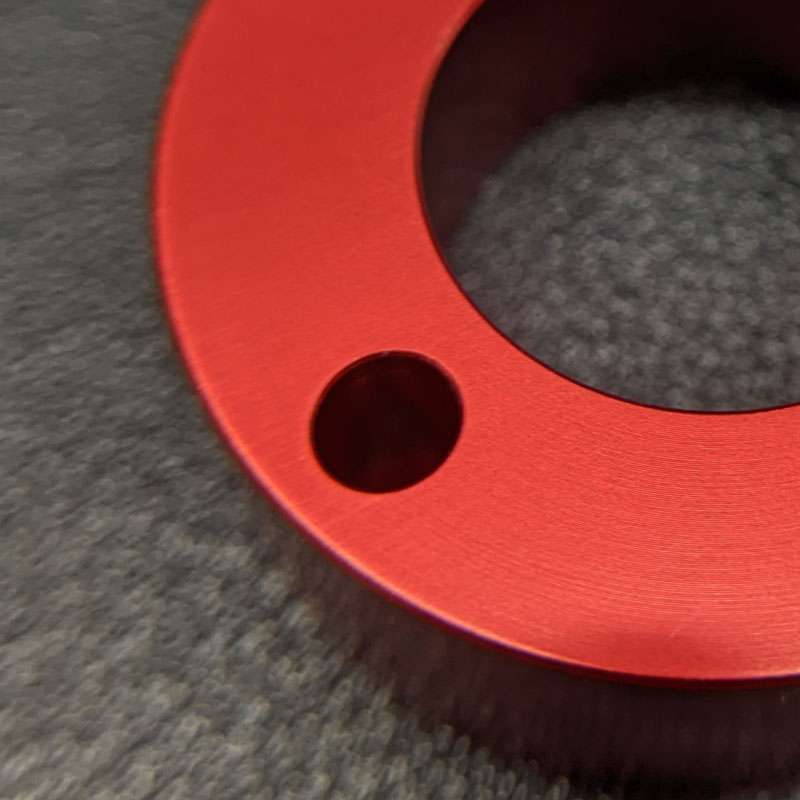
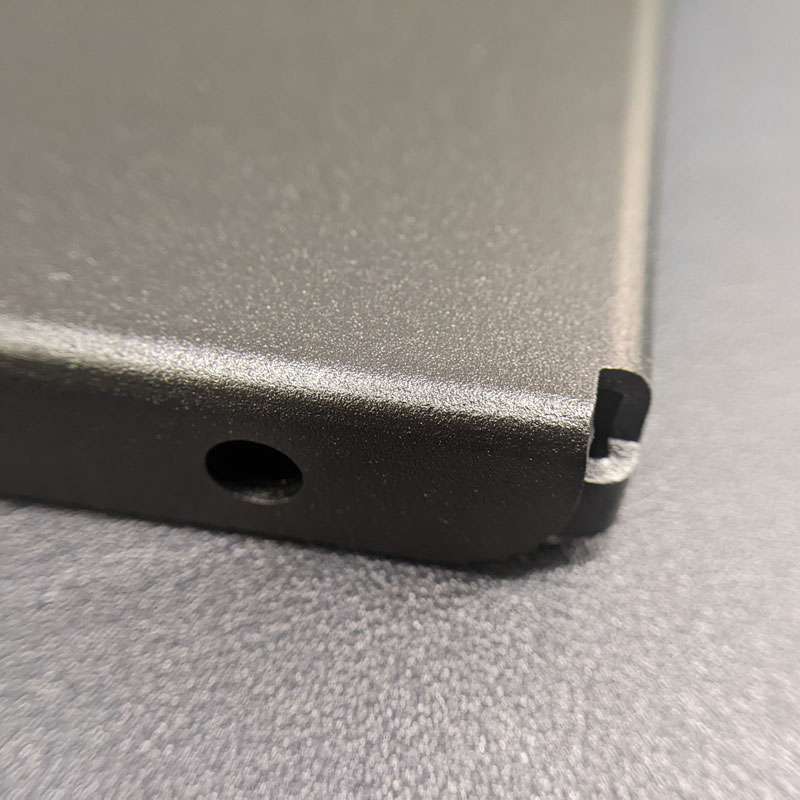
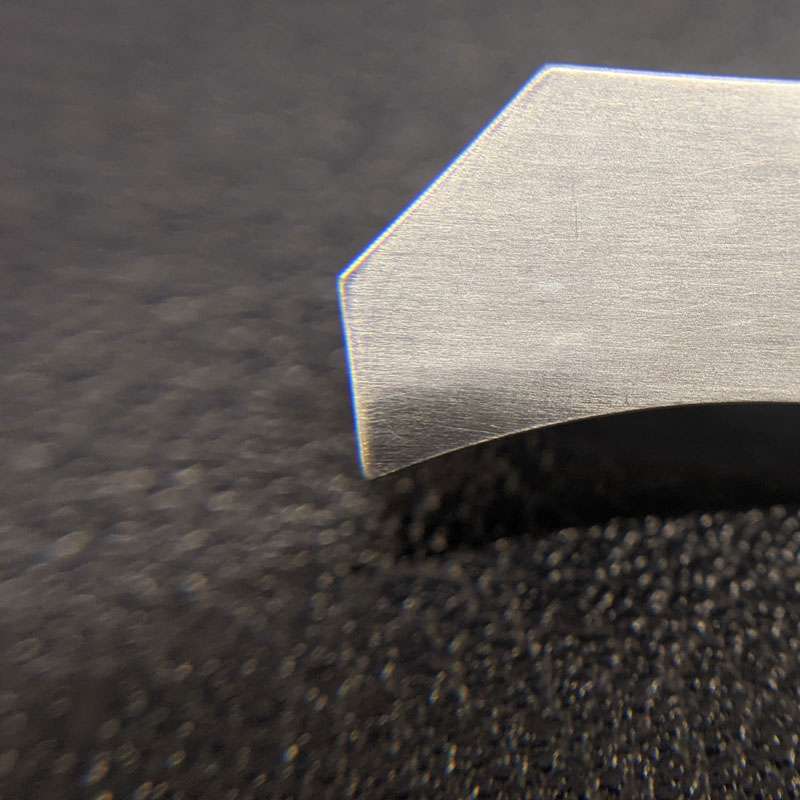
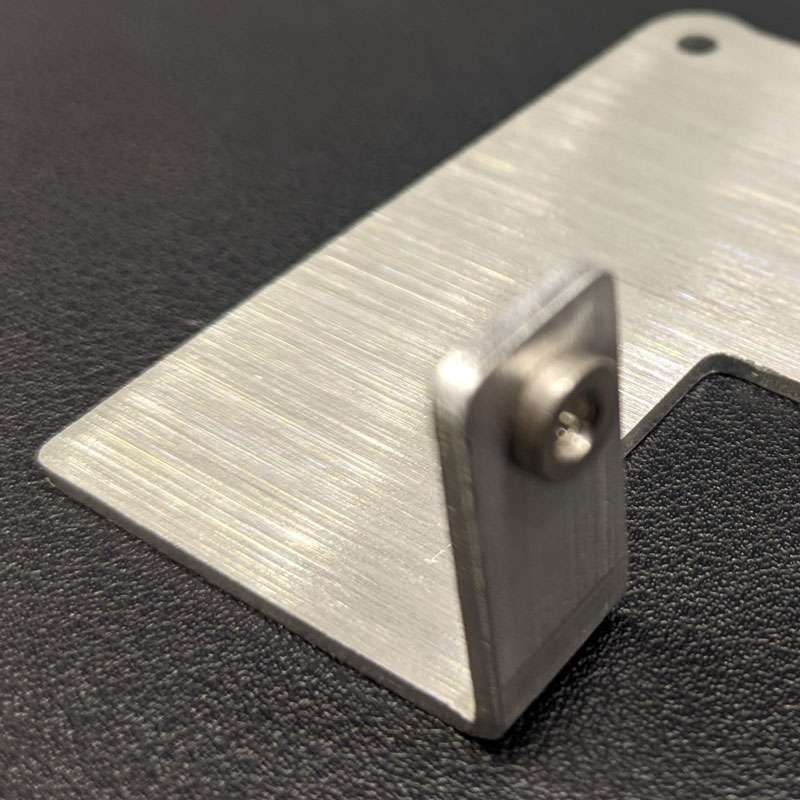
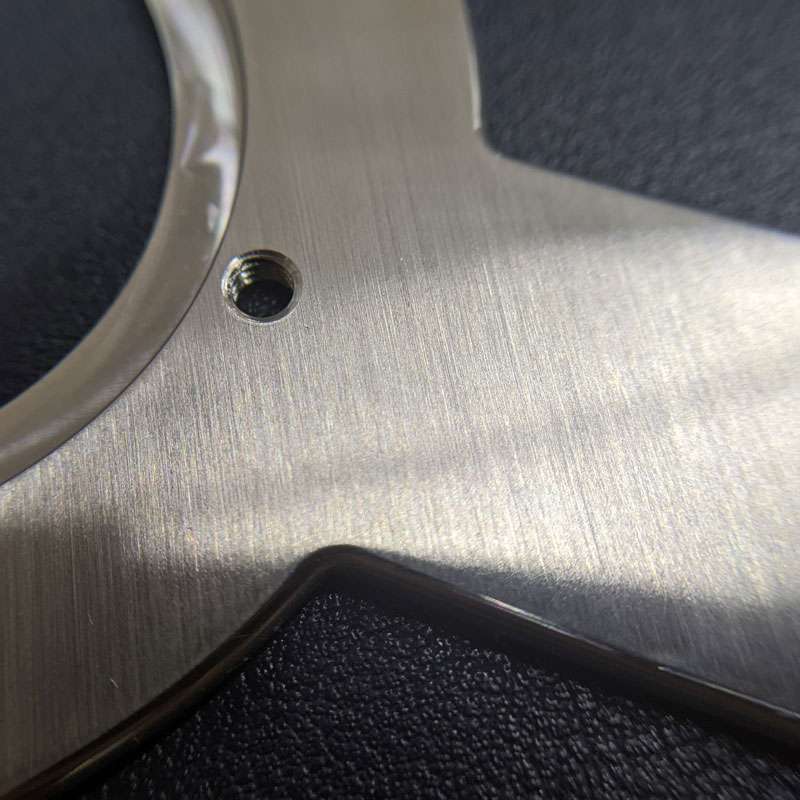
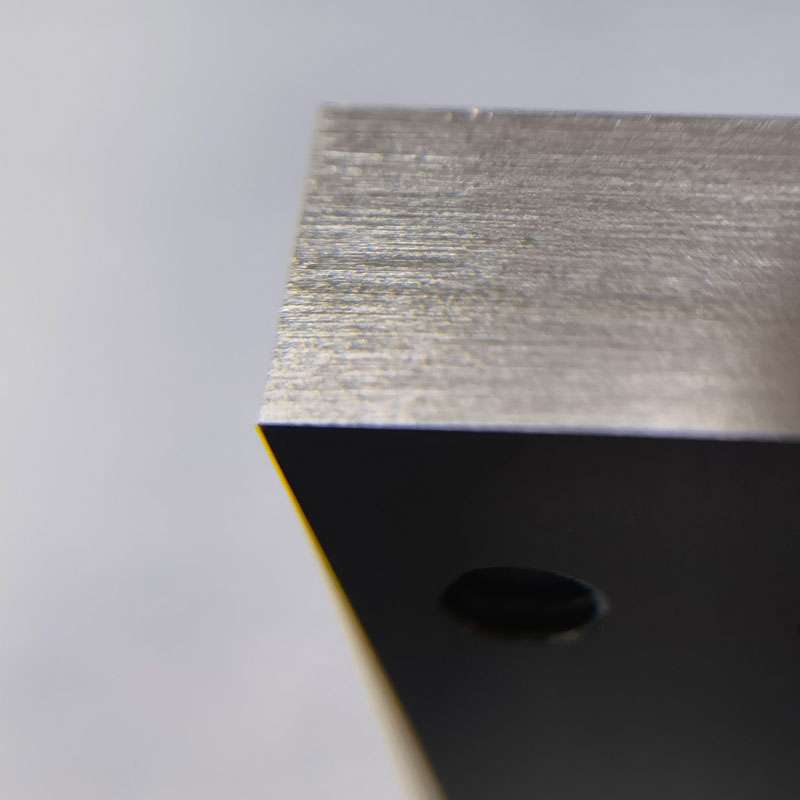
 Aluminum
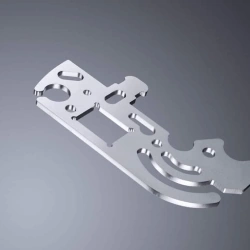
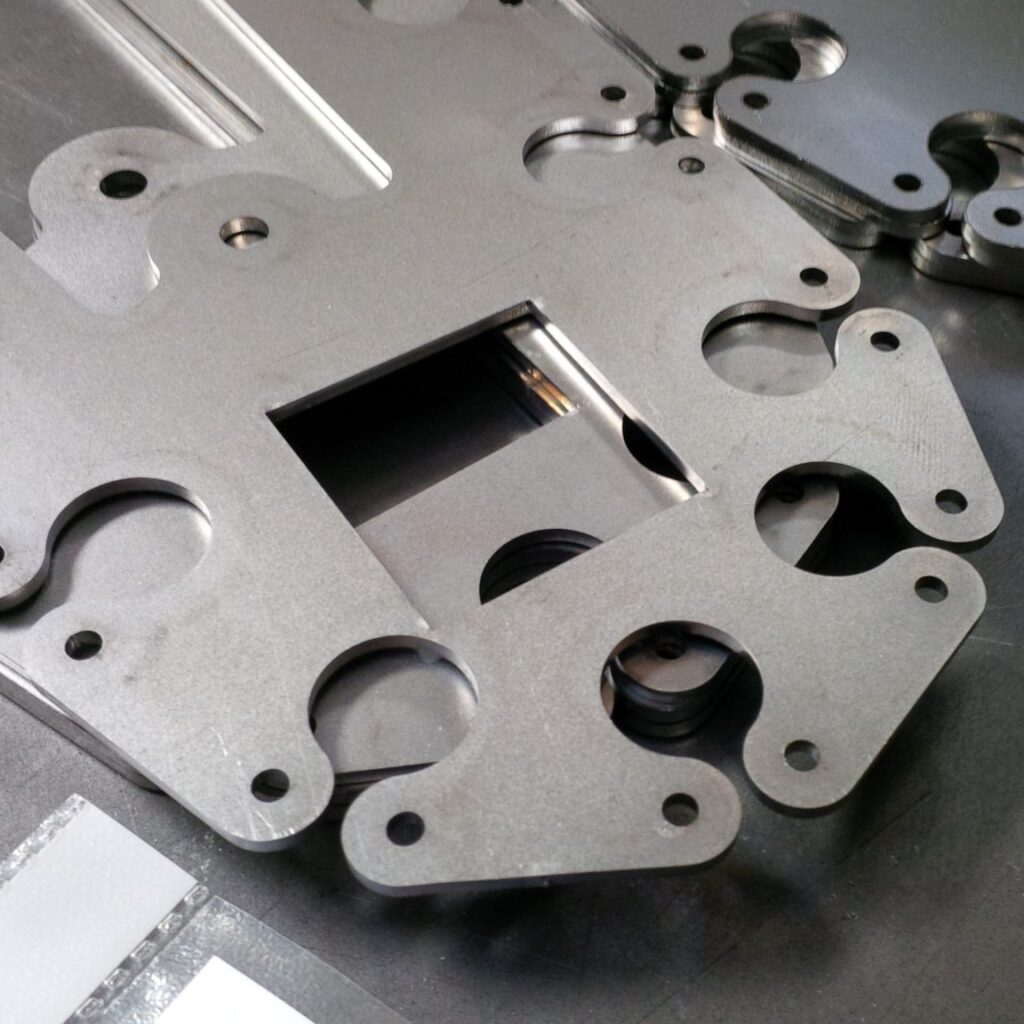
The dust cover part depicted in the left image is crafted from Aluminum 6061, using laser cutting technology. The surface is treated with a black powder coating. This part is known for its bendability and resistance to scratches and wear, key features that contribute to its durability. Notably, the internal holes created by laser cutting are precise and burr-free, demonstrating the superior quality and precision of the manufacturing process.
Subtypes: 5052, 5083, 6061, 6082
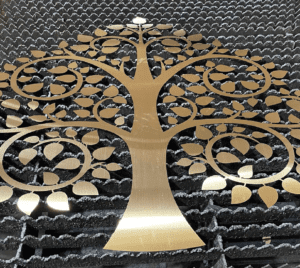 Brass CNC Cutting
Brass, with its radiant golden hue, offers low friction and superior machinability. Ideal for its high electrical and thermal conductivity, Brass is easily machined, making it preferred for low-friction tasks.
Our Brass CNC Cutting Service employs laser precision for unmatched accuracy. Whether you’re working with C360, H59, or H62, our Brass CNC Cutting ensures perfection every time. Experience the laser-edge difference with us.
Subtypes: C360, H59, H62
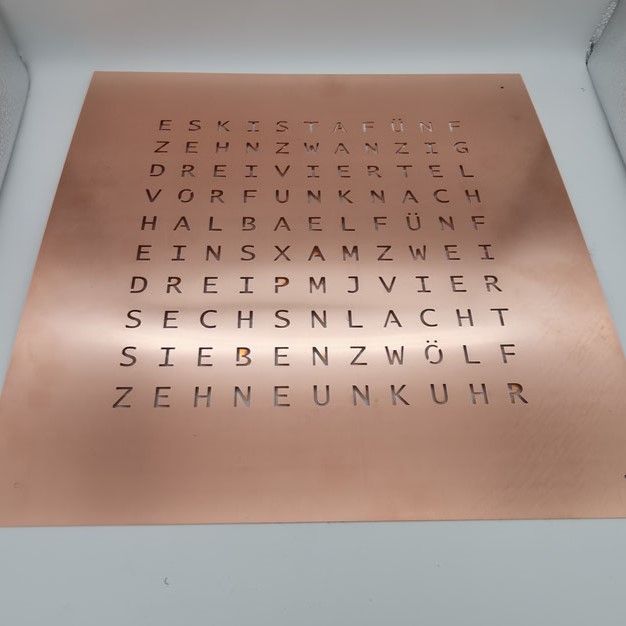
Copper
It offers good strength, hardness, and excellent corrosion resistance with superior heat and thermal conductivity. It also has a very appealing aesthetic.
Subtypes: 101, C110
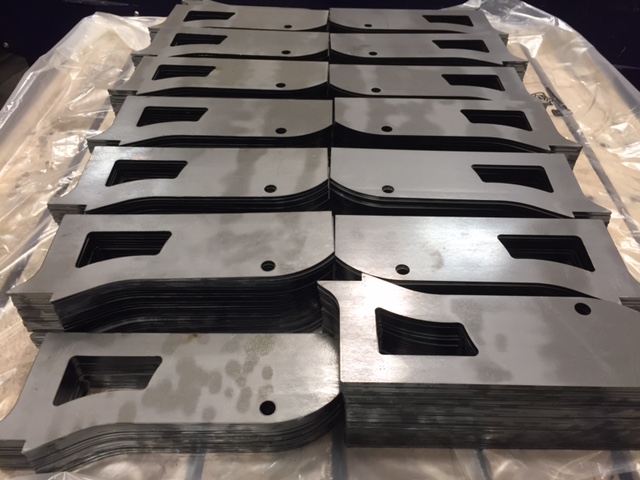
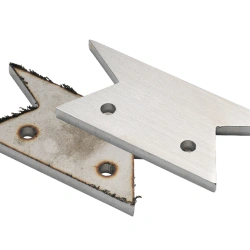
Steel
High mechanical strength, toughness, resistance to wear and fatigue, and sturdiness. In addition to carbon, other alloying elements can be added depending on the needed mechanical and physical qualities.
Subtypes: 1018, SPCC
Stainless Steel
High mechanical strength, Thermal, Wear, and Corrosion resistance. Stainless steel is low-cost and can be machined easily. Parts made from Stainless steel are durable and do not lose that strength over time.
Subtypes: 301, 304, 316
Titanium
Lighter than steel, it is used to construct aircraft and other equipment and medical tools and equipment.
They are also used in other superior auto parts and marine merchandise.
Subtype: Grade 2 Titanium, Grade 5 Titanium
 Acrylic
Acrylic, or polymethyl methacrylate (PMMA), is a transparent, durable plastic used in various applications. It is often used as a lightweight, shatter-resistant alternative to glass.
Its clarity, impact resistance, and versatility contribute to its wide use in industrial and consumer products.
 PC(polycarbonate)
PC, or polycarbonate, is a rigid, transparent plastic known for its high impact resistance and durability. It is commonly used in applications requiring strength and clarity, such as eyewear lenses, automotive parts, and protective barriers.
Finishing Options For Laser Cutting
As the machined or deburring
The machined or deburring finish is the standard finish where unwanted attach chips are removed with deburring tools, and sharp edges are chamfered to smooth the surface (3.2 μm).
Bead Blasted
Bead blasting produces a matte texture, removing all the marks of machining tools. It applies to ABS, Aluminum, Brass, Stainless Steel, and Steel parts.
Anodizing
Anodizing involves adding an aluminum oxide coating to aluminum and its alloys. The layers, which come in various colors, increase strength and shield the surface from corrosion.
Powder coating
Powder coating is the electrostatically applying of dry powder to the surface. It produces a thin layer providing excellent resistance to wear, corrosion, and abrasion.
Polishing
Physical rubbing of a metal surface to create a shiny surface is called a polishing surface finish. It increases the reflectivity and does not affect the dimensional stability of parts.
Brushing
Brushing is achieved by applying an abrasive brush to the metal surface, which produces a unidirectional satin finish. And it is not recommended for highly corrosive materials.
Smooth machining
Smooth machining is done by controlling the machining process, such as feed rate & cutting speed. It minimizes the tool marks and risk of corrosion.
Black-Oxide
Black oxide finish reduces surface reflectivity and offers mild corrosion protection. It involves adding a thin layer of magnetite to the surface.
Try Prolean Now!
Laser Cutting Tolerances
Dimension detail |
Tolerance(+/-) |
| Tolerance Standards |
ISO 9013-1 、ISO 2768 |
| Rotary Cutting Tolerance | ± 1° |
| Length and width tolerance | ±0.127 |
| Flatness | 0.2 to 2 |
| Edge-to-edge, single-surface | 0.005 inch |
| Edge-to-hole, single-surface | 0.005 inch |
| Hole-to-hole, single-surface | 0.002 inch |
| Bend to edge/hole, single surface | 0.010 inch |
| Edge-to-feature, multiple-surface | 0.030 inch |
| Over formed part, multiple surfaces | 0.030 inch |
3 Ways to Ensure Perfection
Standards
Metals: ISO-2768 fH (fine)
Plastics: ISO-2768 mK (medium)
Metric threads tolerances: ISO 965-1 standard UN Threads Tolerances: ASME B1.1-2003 standard
Knurling: ISO13444:2012 standard.
Our factory is ISO 9001:2015 certificated
Inspection and Protection
Constant visual inspection conditions
Quantification of cosmetic surface quality
Process requirements
Part cleaning and Protection
Quality Inspection Report
Inspection Confirmation
Dimensional confirmation
Appearance confirmation
Quality documentation
Laser Cutting Service Guidelines
1. Format of the file
Ensure that you are sending the file in the format that we accept,
• PDF (Portable Document Format)
• STP (Standard for the Exchange of Product model data)
• DFX (AutoCAD, Fusion360 & Solid works )
• eps (CorelDraw, Ink-scape)
• DWG (CAD)
• ai (Adobe Illustrator)
If you have the non-CAD file format (.ai), don’t worry. Send your file. We will take care of the conversion from our side.
2. Scaling
Another crucial element for precise laser cutting is drawing scaling. Make sure your scaling is set to 1:1. For instance, if a portion is supposed to be 10 inches square, design it as such to prevent confusion of scale or proportions. Additionally, it is better to dimension with inches or mm.
3. Min. Hole diameter
While creating the holes on the drawing, consider the minimum hole diameter as half of the sheet thickness. A Hole with a diameter less than that would not be created accurately with laser cutting. For example, if your sheet thickness is 0.20 inches, the diameter of any hole cannot be less than 0.10 inches.
Consider some millimeters of the distance between two laser-cutting positions because the laser might melt the nearby material, affect the dimensional stability, and break the material.
4. Exclude the text boxes (anchor points and curves)
Do not include any text boxes in your drawing because the laser-cutter can-not decode the letter text. If you need to have texts, convert them into vector values as anchor points and curves. CAD software allows converting by converting to outlines, exploding, or expanding options. You can check which option your design software has to convert your text into the vectorized form.
5. Remove overlapping lines
If you have a complex design, don’t worry, we can produce complex shapes with laser-cutting, although you need to remove overlapping lines from the design. Overlapping lines cause the cutting of unwanted positions.
6. Consider the kerf
The laser beam removes the small portion of the material in the cutting position while splitting the parts, known as kerf. So, consider the kerf in the design (Same as the width of the laser beam) to maintain dimensional stability while assembling or fitting multiple parts. So, while dimensioning your design, add half of the kerf to the inner object and half of the kerf from the outer part to account for the kerf dimension in your design.
7. Simplify the design as possible
The complexity of the design takes more time to cut and more parts for the end product, so, If possible, try to simplify your design without affecting the functionality of parts, which will save cost and time.
Try Prolean Now!
Design tips


Laser Cutting Applications
")
Automotive
CNC laser cutting benefits automotive parts manufacturing, such as body panels, doors, interiors, and engine parts, with its fast speed, ability to engrave and mark, and thick metal cutting.
")
Aerospace
The highest level of precision is essential for various aerospace metallic parts to maintain aircraft safety and performance. Laser beam hard materials to produce complex components, such as mounting brackets, fuel injector nozzles, structural items, etc.
")
Electronics
A laser cutter makes clean, precise, and complex cuts on various electrical items, such as resistors, semiconductors, enclosures, and QR code displays.
")
Medical
The medical industry uses laser cutting technology to achieve tight tolerances for complex features of medical diagnostic equipment, surgical instruments, implants, etc.
")
Jewelry Industry
Complex and custom jewelry designs include necklaces, interlocking monograms, and patterns made with laser beams, especially on platinum, silver, gold, and titanium. The laser ensures clean and sharp edges on these ornaments.
See why customers dig us
Prolean's laser cutting service is top-notch. They handled my complex designs with precision and delivered within our deadline. The quality and accuracy exceeded my expectations. Highly recommended
-Thomas Nelson
I had a fantastic experience with Prolean's laser cutting team. Their attention to detail and quick turnaround time made my project a success. I’ll be returning for future orders.
-Stephanie Clark, Head of R&D at InnovateCast Labs
Prolean delivered excellent results for my steel laser cut templates. The process was smooth, and the final pieces were polished. Their service was both efficient and professional. I couldn’t be happier
-Joshua Roberts, ProCoat Technologies
Prolean's laser cutting service was a game-changer for my project. The team was professional, the cuts were precise, and the delivery was fast. I’m thrilled with the results and will recommend them to others.
-Megan Hall, MoldTech Prototyping
Prolean Team achieved the accuracy of ±0.1mm with my steel laser cut designs. The brackets fit the functionality and we are happy that we chose your laser cutting service. Thank you!
-William King, Senior Process Development Engineer
I’m incredibly impressed with Prolean's laser-cutting capabilities. The precision and care they put into my surgical instruments manufacturing project were evident in the final product. Their service is both reliable and affordable.
-Amy Young, Director of Manufacturing Operations
Laser Cutting FAQ
Technical FAQ’S
What Types of Laser Cutters Does ProleanTech Have?
We have CO₂, fiber, Nd: YAG, and direct diode lasers to convert your design with all specified requirements. These laser cutters allow us to handle diverse materials and shapes.
What are the intricate geometrical features of CNC Laser Cutting Services?
Our CNC laser cutters can create undercuts, small and precise holes, sharp corners and edges, engraving, marking, curved surfaces, multi-level designs, thin slots, and more.
How large of size can be cut with a laser?
We can cut parts as high as 3000 x 1500 mm. However, it can change depending on the type of Material, thickness, and required parts criteria.
General FAQ’s
What is the difference between CO₂ and fiber laser?
CO₂ lasers use gas mixtures to produce a laser beam and can cut non-metals and thicker worksheets. On the other hand, fiber lasers use fiber optic cable and provide higher precision.
What are the advantages of laser over shear cutting and plasma cutting?
Laser cutting offers higher precision, cleaner edges, and greater complexity than the other two alternatives, shear and plasma cutting. Unlike shear cutting, the laser does not deform the cutting area.
Is laser cutting expensive?
Laser cutting can be more expensive than other cutting methods due to the high cost of equipment and maintenance. However, the cost justifies itself if precision, speed, and complexity are essential for the functionality of the intended application.
Related Blog
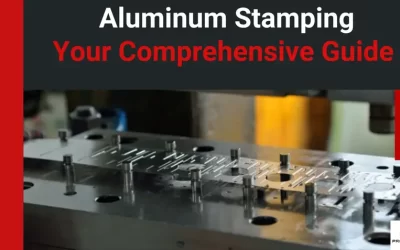
Aluminum Stamping: Complete Guide to Processes, Dies, and Parts
Aluminum stamping Modern manufacturing in many industries and aluminum stamping are intertwined. The process entails transforming thin sheets of aluminum metal into precise 3D parts of varying complexity, based on the design requirements. Whether you require stamped aluminum parts for automotive,...
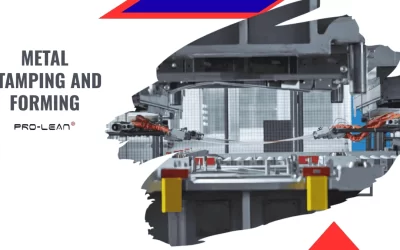
A Comparative Guide on Metal Stamping and Forming
Metal stamping converts the flat sheets into the desired shape using various metal forming operations.
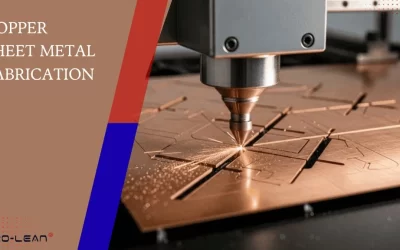
What is Copper Sheet Metal Fabrication? A Detailed Guide
Copper fabrication You can fabricate both pure and alloyed copper. Sheets of C101, C110, and other types of sheet metal are cut, punched, bent, and welded to create the desired shape. Copper sheet metal fabrication services are ideal for producing products that require thermal conductivity,...
Get Your Parts Made Today
All uploads are secure and confidential.